
How to Install Baseboards With a Brad Nailer: Step-by-Step
This post contains affiliate links. As an Amazon Associate, we earn from qualifying purchases.
To install baseboards with a brad nailer, match three things: your nail gauge and length to the baseboard thickness, nail placement to the wall framing, and a tight wind direction on the spool inside the head. For most MDF or softwood baseboards, that means an 18-gauge brad nail 1-1/4 to 2 inches long, driven into wall studs. Sources recommend different nail spacing: Nailicy suggests every 12 to 16 inches or 16 to 24 inches, while Woodworking Advisor recommends every 16 inches.
The “matching three things” rule is about avoiding common problems like gapping at the floor and cracked corners. A nail that’s too thin for the material can work loose over time as the wood moves. A nail driven into drywall instead of a stud holds nothing. And improper tool operation can cause jams. This is why understanding how to install baseboards with a brad nailer is critical.
What follows: the exact nail specs by material, a six-step process that starts before you pick up the nailer, and the corner-prep moves that keep the trim tight for years instead of weeks.
Key Takeaways
- Use 18-gauge brad nails, 1-1/4 to 2 inches long for MDF or softwood baseboards up to 3/4 inch thick. Switch to a 16-gauge finish nailer for solid wood thicker than 1/2 inch.
- Nail into wall studs along the top and bottom of the board. Sources recommend different spacing: Nailicy suggests every 12 to 16 inches or 16 to 24 inches, while Woodworking Advisor recommends every 16 inches. Missing a stud means the nail holds only drywall.
- Pre-drill pilot holes within 2 inches of any end on solid wood to prevent the corner from cracking weeks later.
- Adjust the nail gun’s depth setting so the head sits just below the surface (about 1/32 inch). Driving it flush and then trying to sink it blows a crater in soft MDF.
- Prime and paint all sides of the baseboard before you install it. This prevents warping and saves you from painting on your knees later.
The 6-Step Process (and Where to Start)
The job of how to install baseboards with a brad nailer doesn’t begin with the nail gun. It starts with a pencil, a tape measure, and letting the wood sit in the room. Rushing the prep is how you end up with a board that’s 1/16 inch too short or a miter that opens up after the paint dries.
Step 1: Measure, Buy, and Acclimate. Measure each wall to the nearest 1/16 inch. For outside corners, add a few inches to the measurement to allow for the miter cuts. This Old House contractor Tom Silva recommends adding an extra 10% to your material total to account for waste and mistakes. Bring the baseboards into the room a few days before you start. Wood expands and contracts with humidity; letting it acclimate minimizes gaps later.
Step 2: Finish Before You Install. This is the single biggest time-saver. The Home Depot guide states it clearly: Prime and paint (or stain and varnish) all sides of the baseboard, including the back, before you install it. A painted back prevents the board from warping. A painted front means you only have to touch up nail holes later, not tape off the entire floor.
Step 3: Cut and Dry-Fit. Cut your longest pieces first, using the offcuts for shorter sections. For inside corners, a coped joint is stronger and hides better than a simple miter. For outside corners, cut opposing 45-degree miters. Then, dry-fit every piece around the room without nails. This is your chance to shave a high spot or recut a bad angle. The fit should be snug, not forced.
Step 4: Find the Studs and Mark a Level Line. You must use a stud finder. Mark every stud location along the wall at baseboard height. Also, find the bottom plate, the horizontal framing member at floor level, which is another solid nailing target. Use a 4-foot level to find the highest point of your floor, then snap a level chalk line around the room at your desired baseboard height. This line keeps the top edge straight even if the floor waves.
Step 5: Nail It Up. Start at one end of a board. Place the first nail near the end, angling slightly downward into a stud. Work your way down the board, nailing at the top and bottom into every stud you marked. Which brings us to the most debated part of the job.
The Nail Size and Spacing That Decides It
Your brad nailer for how to install baseboards with a brad nailer is a precision tool, not a staple gun. The wrong nail splits the wood. Incorrect spacing causes the board to bow.
For 1/2″ – 5/8″ MDF or softwood baseboard, use an 18-gauge brad, 1-1/4″ – 1-1/2″ long. For 3/4″+ solid wood (oak, poplar, pine), use a 16-gauge finish nail, 2″ – 2-1/2″ long. Sources recommend different nail spacing: Nailicy suggests every 12 to 16 inches or 16 to 24 inches, while Woodworking Advisor recommends nailing into studs every 16 inches.
That’s the technical snippet, pulled straight from the Woodworking Advisor spec chart. Now, the why.
An 18-gauge brad nail is about 0.0475 inches across. A 16-gauge finish nail is about 0.0625 inches. A 16-gauge nail has roughly double the shear strength of an 18-gauge nail. An 18-gauge brad is perfect for MDF and pine, it’s thin enough to avoid splitting. But in dense oak, that thin shank can work loose over time as the wood moves. The board can develop gaps.
This is where sources disagree. Family Handyman prefers 18-gauge because the smaller holes are easier to fill. Woodworking Advisor says you need 16-gauge for solid wood. They’re both right, for different materials.
| Baseboard Material & Thickness | Recommended Nail | Length | If You Skip This |
|---|---|---|---|
| 3/8″ – 1/2″ MDF (shoe/cap molding) | 18-gauge brad | 1″ – 1-1/4″ | Nail won’t reach framing; molding pulls loose. |
| 1/2″ – 5/8″ MDF or softwood | 18-gauge brad | 1-1/4″ – 1-1/2″ | Standard choice. Holds fine. |
| 9/16″ – 3/4″ MDF or softwood | 18-gauge brad (16-gauge for hard studs) | 1-Brad nailer vs finish nailer, but the 18-gauge brad nailer is the right tool for most baseboard jobs. It leaves a smaller hole to fill and is less likely to split MDF or softwood trim. However, when you’re dealing with solid hardwood thicker than 1/2 inch, the debate flips. That’s when you need the holding power of a 16-gauge finish nailer.
The Woodworking Advisor notes that a 16-gauge nail has roughly double the shear strength of an 18-gauge nail. In solid oak or poplar, an 18-gauge brad can work loose over months. The board starts to pull away from the wall. For that material, stepping up to a finish nailer isn’t overkill, it’s the fix for a predictable failure.
So, which nailer should you buy? If you’re only doing MDF trim, an 18-gauge brad nailer is perfect. If you plan to work with solid wood regularly, a 16-gauge finish nailer is more versatile. For a one-time project, you can often rent the right tool.
The Safety Click You Must Listen For
A brad nailer is not a toy. It drives a sharp piece of metal at high speed. The Home Depot guide reminds you to wear appropriate hearing and eye protection when cutting your baseboard. That protection stays on when you’re nailing.
Every modern nail gun has a sequential trigger or a contact safety. The sequential trigger requires you to press the nose against the work, then pull the trigger, one nail per cycle. It’s slower but much safer. In contact safety mode, holding the trigger down fires a nail whenever the nose touches something. Don’t use bump fire for baseboards. The sequential trigger gives you control, especially near corners where a deflection could send a nail somewhere you don’t want it.
Where this goes sideways: Using the bump-fire trigger mode near a corner. A slight deflection can send a brad into your finger or through the drywall into a pipe. Stick with the sequential trigger for installation.
Dealing With Corners and Joints Before the Nailer Touches Wood
Corners are where your work gets judged. A open miter looks amateur. A tight coped joint looks pro.
For an inside corner, a coped joint is best. You cut the first piece square and butt it into the corner. For the second piece, you cut a 45-degree back-bevel along the profile, then use a coping saw to follow that profile line. The result is a piece that “caps” over the first, locking into its shape. This joint hides better and allows for seasonal wood movement without opening up.
For an outside corner, you typically need two opposing miter cuts. Dry-fit them first. Walls are rarely a perfect 90 degrees, so you might need to adjust your saw angle to get a tight fit. A dab of wood glue in the miter before nailing strengthens it.
When a wall is longer than your baseboard, you need a scarf joint. This is a long, angled splice. For a scarf joint, cut the ends of both boards at opposing angles, overlap them at a stud, and secure with glue and nails.
The part nobody mentions: Skipping nails within 2 inches of every end and on both sides of a scarf joint. That’s the most common reason baseboard separates at the miter within the first year. You must get a nail into that end grain.
Filling, Caulking, and the One Tool You Didn’t Know You Needed
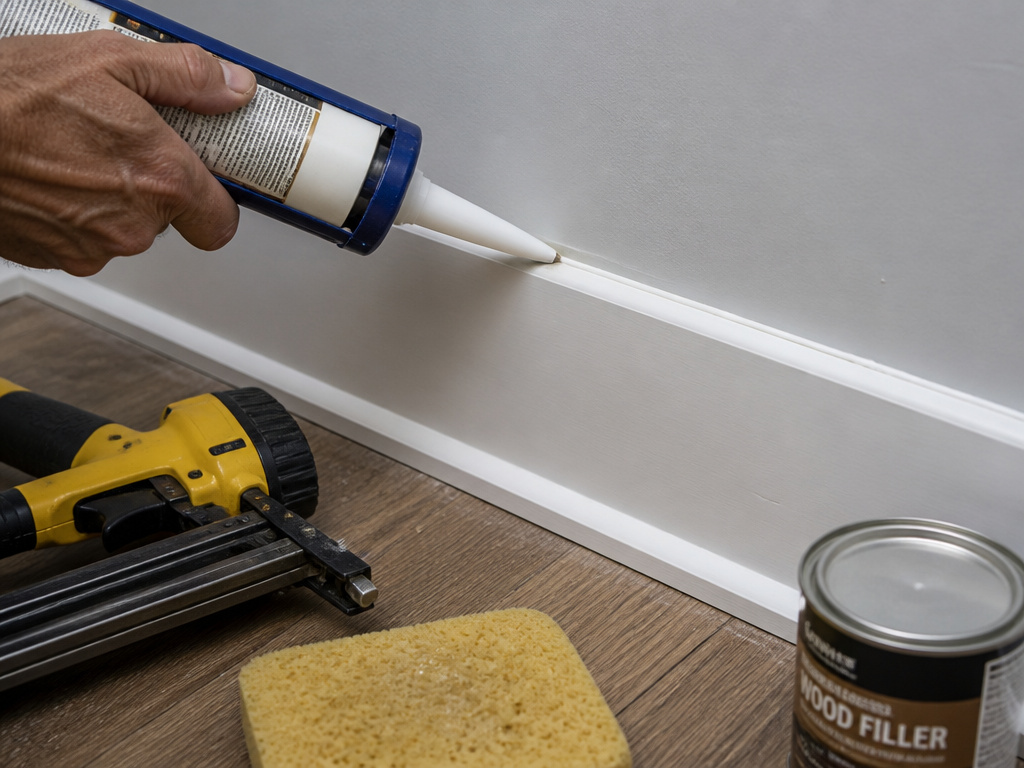
The nail gun does the heavy lifting, but your eyes see the filler and caulk.
After nailing, you need to set any proud nail heads. Use a nail set and a hammer to drive them just below the wood surface. Don’t over-drive. On soft MDF, pounding a nail head too deep blows out a crater around it. A gentle tap is enough.
Fill the holes with wood filler. Let it dry completely, then sand it flush. Now, run a thin bead of paintable latex caulk along the top edge where the baseboard meets the wall. Also caulk any slight gaps at inside corners or scarf joints. Smooth the caulk with a damp finger or tool.
A useful tool for shimming is a set of thin wooden sticks. If a baseboard doesn’t sit perfectly flush against an uneven wall, slide a shim behind it before nailing. It shims the board out perfectly. After nailing, just break off the exposed part.
Should I use glue when installing baseboards?
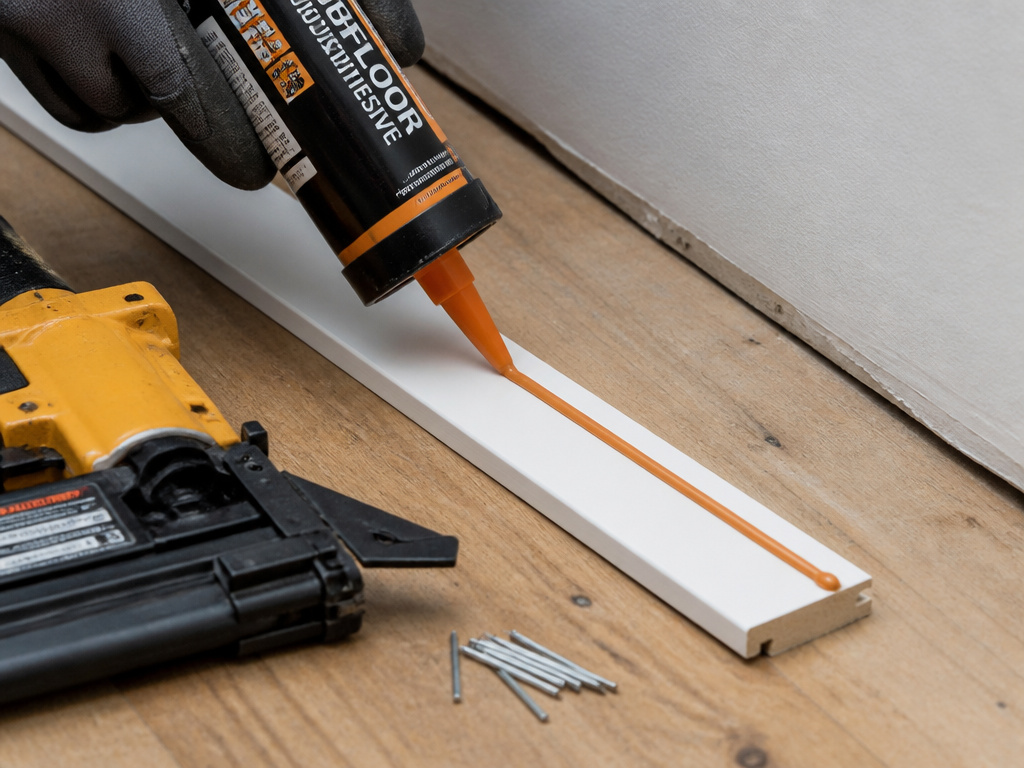
While the fact sheet does not mention adhesive, using a construction adhesive along with nails can be a practical choice for a stronger, more permanent bond. Apply a thin bead of adhesive to the back of the board before positioning it. Then, secure it immediately with your brad nails.
How to install baseboards by hand
A nail gun saves time and gets better results, but hand nailing is a viable alternative. You would use finish nails instead of brads for this method. The key steps remain the same: locate the wall studs, position the board, and drive nails at an angle to secure it. After driving the nail, you must use a nail set to sink the head just below the wood surface. This prevents damage to the wood and allows for filling. Hand nailing is an alternative method that requires more effort.
Frequently Asked Questions
Can you use a brad nailer to put up baseboards?
Yes, a brad nailer is the preferred tool for installing most baseboard trim. It drives thin 18-gauge nails that are less likely to split MDF or softwood, and it leaves a small hole that’s easy to fill. For the best results, you must pair it with the correct nail length and hit the wall studs.
What is the 7% rule for baseboards?
Common rule is to add an extra 10% to your material total. When calculating how much baseboard to buy, measure your total linear feet and then add 10% to account for waste from bad cuts, miter mistakes, and pattern matching. This Old House explicitly recommends adding an extra 10% to baseboard material for this reason.
Is a brad nailer better for installing baseboards than a finish nailer?
For most DIY jobs with MDF or pine trim, yes. The brad nailer’s thinner nails minimize splitting and leave smaller holes. For solid hardwood baseboards thicker than 1/2 inch, a finish nailer is better because its thicker 16-gauge nails have more holding power and resist working loose over time.
Should I use a 16 or 18 gauge nailer for baseboards?
Start with 18-gauge for MDF and softwood. You only need to step up to a 16-gauge nailer if your baseboard is made of solid hardwood (like oak) and is thicker than 1/2 inch. The thicker nail provides the necessary shear strength to hold the dense, moving wood securely to the wall framing.
Before You Go
One threshold changes everything: if your baseboard is solid wood and over 1/2 inch thick, stop. You need a different nail. The 18-gauge brad in your gun will not hold it long-term. That’s not a guess, it’s the documented outcome from trim that moves with the seasons.
The first step isn’t buying a nailer. It’s practicing a coped joint on a scrap piece of baseboard. That joint is what separates a quick trim job from a finished one. Master the cut with a coping saw and file, and the rest of the installation is just following the lines you’ve already drawn.
