
How to Cut Fiber Cement Siding With Power Shears
This post contains affiliate links. As an Amazon Associate, we earn from qualifying purchases.
To cut fiber cement siding with power shears, match the tool to your drill’s torque (300 in/lbs minimum), secure the board face-side up, and guide the tool so the skid plate stays flush with the surface. You cut at a pace under 20 feet per minute, letting the tool do the work. The reward is a clean edge with virtually no silica dust.
That dust-free claim isn’t marketing fluff; it’s measured. A CDC/NIOSH study clocked the respirable dust generation from power shears at 0.006 grams per meter of cut. Compare that to the cloud a circular saw kicks up, and the difference isn’t just visual, it’s a health boundary. Shears like those Allura references let you work indoors without turning your lungs into a filter. But the trade-off is real: speed. A worm-drive saw will crosscut a board in seconds; shears take a steady minute. For most DIYers and pros doing trim-outs or repairs, that’s a fine swap. For sheathing an entire house, you’ll feel the drag. The key is knowing how to cut fiber cement siding with power shears efficiently.
What follows is a mechanic’s guide, not a salesman’s brochure. We’ll walk through the two tools you’ll actually find on a siding job, the drill attachment and the dedicated shear, then lay out the five-step process for how to cut fiber cement siding with power shears that keeps cuts straight and jaws from wearing prematurely. We’ll also cover what shears can’t do, where they break, and when you should just grab a saw instead.
Key Takeaways
- Power shears produce virtually no respirable silica dust, making them a power tool Allura recommends for indoor cutting.
- The Malco TSF1 CE is the go-to drill attachment, cutting 5/16” siding at up to 20 feet per minute, but it demands a drill with at least 300 in/lbs of torque.
- Always cut with the board’s finished face up; the tool’s skid plate rides on this surface to guide the cut and prevent edge delamination.
- Let the tool do the work. Forcing the cut or running it for more than five minutes continuously overheats the gears and ruins the jaws.
- Shears cannot cut fiber cement trim boards and struggle with material thicker than their rated capacity; for those, you need a saw with a specialty blade.
The Tool You’re Actually Using: Drill Attachment vs. Dedicated Shear
You have two paths: a drill attachment or a standalone shear. The drill attachment, like the Malco TSF1 CE, is what most DIYers and siding crews use. It’s an accessory head that clamps onto your drill. The standalone shear is a purpose-built tool, often cordless, that looks like a bulky pair of snips.
The Malco TSF1 CE shears are capable of making straight, curved, or angled cuts in 5/16” (8mm) fiber cement siding. The skid plate (base of head) should be flush to the siding during operation.
Source: Malco TSF1 CE Instructions
Here’s the why-layer on that skid plate. The flush contact does two jobs: it stabilizes the head to prevent wobble for a straight cut, and it ensures the cutting jaws engage the material at the correct angle. If the skid plate is tilted, one jaw hits first and the cut veers.
I lean toward the drill attachment for its versatility. You likely already own a drill that meets the spec, 14.4V minimum and 300 in/lbs of torque. The attachment stores in a small case. The dedicated shear is faster and often more comfortable for high-volume work, but it’s another battery platform and a significant investment. For a weekend project or occasional repair, the attachment is the pragmatic choice.
The setup is straightforward but exact. Fit the drive shaft into your drill’s chuck and tighten it securely. The telescoping clamp arms then adjust to grip your drill’s body; snug them down so the tool is rigid, but don’t cover the drill’s cooling vents. Finally, you can loosen a forward clamp to rotate the head for angled cuts or to get into a tight corner.
Before you start: Fiber cement contains crystalline silica, a known carcinogen when inhaled as dust. While shears minimize dust, always wear safety glasses, protective gloves, and hearing protection during operation. Never run the tool for more than five minutes continuously to prevent overheating.
How Power Shears Make Almost No Dust (and Why It Matters)
The single biggest reason to choose shears over a saw is dust control, which is central to how to cut fiber cement siding with power shears. Not just the nuisance kind, but the kind that causes permanent lung damage.
A circular saw with a fiber-cement blade, even hooked to a dust collector, creates a visible plume. Shears don’t. They work by a shearing action, two blades passing by each other to cleave the material, not by abrasion. That means no high-speed grinding of silica into breathable particles.
The CDC respirable dust generation study put a number on it: power shears generated 0.006 grams of respirable dust per meter of cut at a standard feed rate. That’s the scientific backbone of Allura’s claim that shears “generate virtually no dust” and are approved for indoor use. For context, OSHA has a complex standard for silica exposure when using saws outdoors with dust collection. With shears, that whole regulatory headache vanishes.
This matters most when you’re working inside, like cutting siding in a garage or doing a repair on an enclosed porch. It also simplifies cleanup. For the minimal debris, you can use a damp rag, but Allura advises never using a broom or brush on dry debris and to use wet methods or a HEPA vacuum.
| Cutting Method | Dust Level | Best For | Indoor Use? |
|---|---|---|---|
| Power Shears | Very Low (Virtually None) | Detail work, repairs, indoor cuts | Yes – Manufacturer Approved |
| Circular Saw w/ Dust Collection | Moderate | High-volume, long straight cuts | No – Outdoor/Ventilated Only |
| Chop/Miter Saw w/ Dust Collection | High | Precision angle cuts | No – Outdoor/Ventilated Only |
The 5-Step Process for a Perfect, Straight Cut
This isn’t about muscle. It’s about letting a sharp, well-lubricated tool do its job. If you’re sweating, you’re doing it wrong.
-
Support and Mark the Board. Place the siding on a stable surface, like sawhorses with a piece of carpet or cardboard on top to protect the face. Mark your cut line clearly with a pencil. For long cuts, use a straightedge.
-
Position the Board Face-Up. This is critical and where sources disagree. Allura’s manual for shears says “cut with the product face down.” Malco’s instructions, which state the skid plate should be flush to the siding, imply cutting with the finished face up. In practice, many follow the tool manufacturer’s guidance and cut with the good side up. The skid plate glides on the smooth surface, ensuring a clean edge on the side that will show.
-
Start the Cut at the Edge. Align the shear’s cutting jaws with your mark at the board’s edge. Hold the drill firmly with both hands, one on the trigger, one supporting the body, ensuring the skid plate is flat on the board.
-
Feed Steadily, Don’t Force. Pull the trigger and let the tool move forward at its own pace. Keep the feed rate under the tool’s maximum cutting speed. You’ll hear a crisp, rhythmic snip-snip-snip. If the sound changes to a straining whine, you’re pushing too hard. Ease up.
-
Follow Through and Release. Guide the tool along the line until the cut is complete. Release the trigger before you lift the shears off the board to avoid tearing the last bit of material.
Common mistake: Pushing the shears like a saw. The jaws have a maximum cutting speed for a reason, 20 feet per minute for the Malco. Exceed that, and you overload the mechanism, which wears out the jaws prematurely.
Power Shears vs. Circular Saw: When to Switch Tools
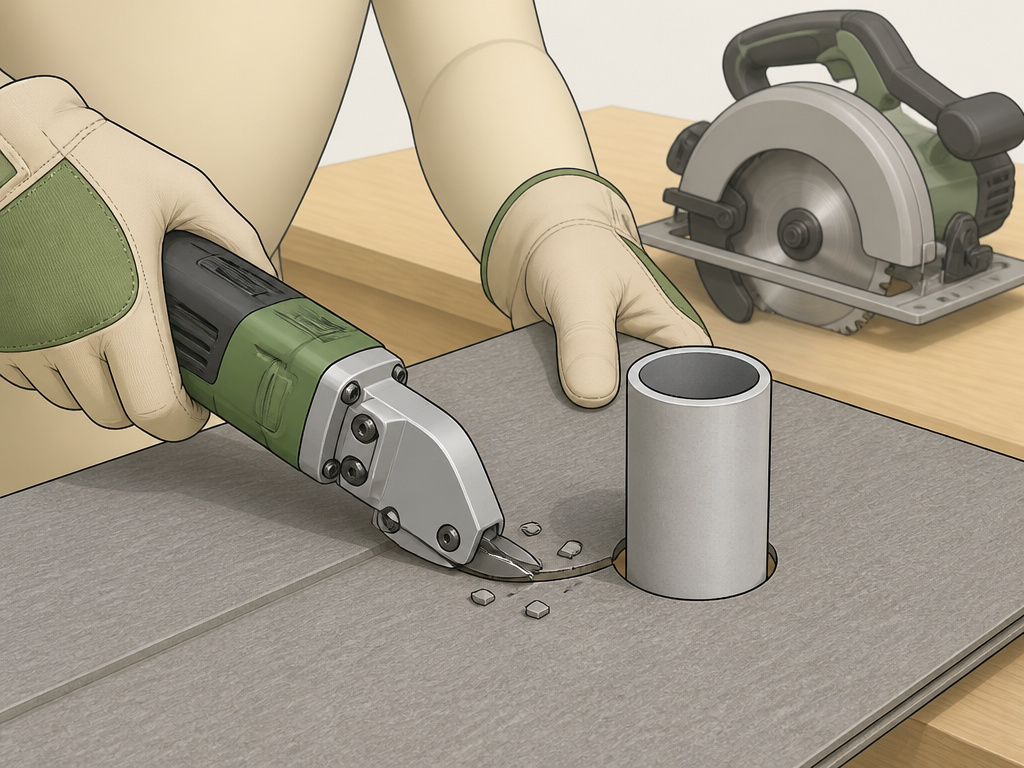
Shears have a specific job. Understanding their limits keeps you from breaking them and saves you time.
Use shears for:
- Indoor cutting (the only powered option Allura green-lights for indoors).
- Straight cuts and gentle curves in standard 5/16” siding.
- Jobs where dust control is paramount (working near living spaces, historic homes).
- Notching around outlets or pipes, shears are excellent for tight, controlled shapes.
Switch to a circular saw when:
- You’re cutting Allura Trim products (shears can’t do it).
- You need to rip long lengths of siding quickly. A saw is significantly faster.
- The material is thicker than 5/16” (8mm).
- You’re working outdoors with proper dust collection and ventilation.
A professional writing in JLC Online captured the trade-off perfectly: after trying shears for a full job, they switched back to a worm-drive saw for speed and a cleaner cut edge, despite the dust. For them, productivity won. For a homeowner doing a weekend fascia repair, the clean shop might be worth the extra minutes.
| Task | Best Tool | Key Reason |
|---|---|---|
| Cutting indoors (garage, enclosed porch) | Power Shears | Virtually no dust – complies with Allura indoor rules |
| Installing trim boards | Circular Saw with Carbide Blade | Shears cannot cut fiber cement trim products |
| Making a long, straight rip cut | Circular Saw with PCD Blade | Speed – shears max out at 20 ft/min |
| Cutting a curved notch for a pipe | Power Shears | Control – easier to steer than a saw |
Common Power Shear Problems (And How to Fix Them)
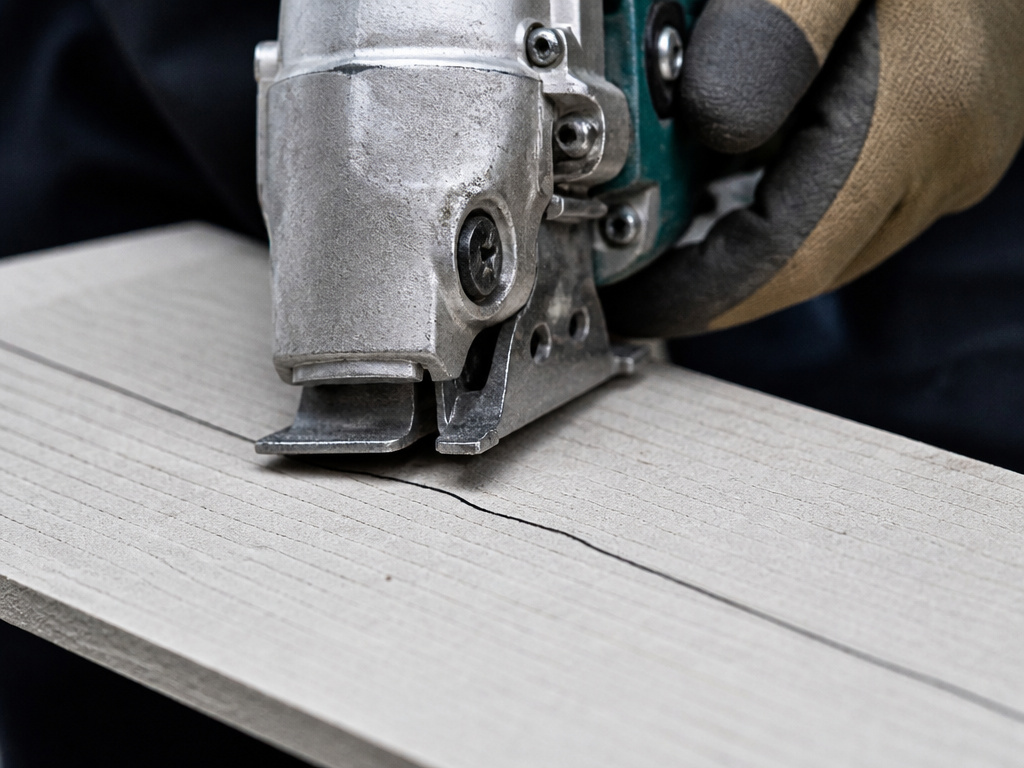
These tools are simple, but they fail in predictable ways. Here’s what to listen and feel for.
The cut is wandering, not staying straight.
You’re likely not keeping the skid plate flush. Tilt the tool, and the jaws pull to one side. Stop, reposition, and consciously keep the base flat. It’s a guiding skid, not just a bumper.
The tool is making a grinding noise and struggling.
First, check that you’re not trying to cut two layers at once. That’s a guaranteed way to break the head. If it’s a single board, the jaws are probably dull or dry. The Malco TSF1 CE jaws have a rated life of 12,000’ (3650 M). If you’ve cut the rated lifespan of siding, they’re done. The other possibility is missed maintenance. The tool needs grease, specifically, the grease supplied with it, on the washers and between the drive shaft and upper blade. Running it dry creates metal-on-metal grinding and rapid overheating.
The shear head is getting too hot to touch.
You’re running it too long. The manual explicitly says not to run continuously for more than five minutes. This isn’t a suggestion; it’s a thermal limit. The grease inside thins, lubrication fails, and the hardened steel jaws can actually lose their temper. Stop, let it cool for a few minutes, then resume. For a big job, pause periodically to let the tool cool.
The cut edge is ragged or delaminating.
You’re cutting too fast or possibly with the board oriented against the tool manufacturer’s guidance. Slow your feed rate. Also, ensure you’re using sharp jaws. A dull jaw crushes the fiber-cement edge instead of shearing it cleanly.
Where this goes sideways: Skipping the supplied grease. Using generic grease can be too thin or contain additives that attack the tool’s plastic housing. The wrong lube leads to premature wear, and the head will overheat and seize prematurely.
Maintaining Your Shears for a 12,000-Foot Lifespan
The Malco’s jaw life isn’t a guarantee; it’s a rating under correct conditions. Hit it, and the tool is a workhorse. Neglect it, and it’s scrap metal in a plastic case.
Regular Care:
- After each use: Wipe down the exterior with a dry cloth to remove cement dust. Don’t blast it with compressed air, as that can force grit into the gears.
- Grease Check: Periodically inspect the grease ports. If the grease looks black or gummy, it’s time for a fresh application of the supplied grease.
- Tightness Check: Ensure all clamp screws and the drive shaft are tight before each use.
Blade & Jaw Replacement (TSF1RBN Kit):
When the jaws are worn, it’s time. The process is mechanic-level simple:
- Remove the two 5mm hex screws from the casing.
- Remove the four 2.5mm hex screws.
- Carefully separate the casing (there will be grease inside).
- Lift off the washers, old blade, and the second washer set.
- Assemble the new blade with new washers.
- Apply a thin layer of the supplied grease to the washers and blade sides.
- Apply a liberal amount of grease between the driveshaft and the upper blade.
- Reassemble the casing and screws.
If that sounds like more DIY than you want, the entire head is replaceable. For most users, swapping the whole head every 12,000 feet is the simpler option.
Cutting Curves, Notches, and Complex Shapes
Shears excel at work a saw can’t touch. For cutting a notch around an electrical box or making a curved cut for an arch, they’re the right tool.
The technique changes from pushing to steering. You make a series of short, overlapping bites, turning the tool slightly with each snip. It’s like driving a boat, small corrections. For tight interior cutouts, like for a vent, you can drill a starter hole and then nibble your way out from the center. It’s slower than a jigsaw, but there’s zero dust and incredible control. This is where the drill attachment’s rotatable head proves its worth, letting you angle the jaws to get into tight corners.
Remember, shears are for the siding itself. If you need to cut a trim board for a corner or window surround, you must switch to a saw with a carbide-tipped blade. Trying to force a trim board through shears will break them.
How to Use Drill Attachments for Fiber Cement Shears
A drill-powered shear attachment is a common choice for cutting siding. It clamps onto a standard drill, converting its rotation into a shearing action. To use one, first ensure your drill meets the power requirements; it needs sufficient torque and voltage to drive the attachment effectively. During operation, keep the tool’s skid plate flush against the siding. Always wear safety glasses, hearing protection, and gloves. These attachments generate very little dust, making them suitable for indoor or outdoor use. Do not run the attachment continuously for more than five minutes to prevent overheating, and use only the grease supplied with the tool for maintenance.
Frequently Asked Questions
What is the best power shear for fiber cement siding?
One widely used option is the Malco TSF1 CE drill attachment. It’s widely available, fits any capable drill, and is explicitly designed for 5/16” fiber cement. For full-time siding crews, dedicated cordless shears may offer more speed and comfort, but at a higher cost.
Can you cut fiber cement siding indoors?
Yes, but only with specific tools. Allura’s installation manual states you should not grind or cut with a power saw indoors. The only powered cutting method they approve for indoor use is “manual, pneumatic or electric shears designed for cutting fiber cement.” So your circular saw stays in the driveway. Your power shears can come inside.
Do you need to seal cuts made with shears?
Absolutely. Allura requires sealing all cut edges on primed products with 100% acrylic latex paint or primer. For their pre-finished Spectrum products, you must use Allura Spectrum touchup paint. The shearing action leaves a clean edge, but it’s still porous fiber cement. Unsealed edges will wick moisture, leading to swelling and paint failure.
Why are my power shears not cutting straight?
Three likely culprits: dull jaws, incorrect board positioning, or forcing the feed. First, ensure you’re cutting with the board’s finished face up so the skid plate guides correctly. Second, slow down, let the tool feed at its own pace. Finally, if those don’t work, your jaws are probably worn and need replacing.
How do power shears compare to a nibbler for this job?
They’re different tools for different materials. A comparison of power shears vs nibblers shows nibblers are fantastic for thin, ductile metals like HVAC flashing. Fiber cement is brittle and abrasive; it would quickly destroy a nibbler’s punch and die. Shears are the right tool for this specific material.
Before You Go
Power shears reframe the fiber cement siding job. They turn a hazardous, dusty operation into a clean, precise task you can do anywhere. Your lungs and your workspace will thank you. The Malco TSF1 CE is the one to get, it turns your drill into a siding tool for a fraction of the cost of a dedicated shear.
But be honest about the scope. If you’re sheathing a whole house, rent a dust-collection setup for your circular saw and work outside. The speed is worth the hassle. For everything else, repairs, detail work, indoor cuts, or any job where you want to finish clean, the shears are your first tool out of the box.
One final spec to remember: the tool’s 300 in/lbs torque requirement. That’s the line. If your drill can’t hit that, the shears will stall, bind, and overheat. In that case, you’re better off using a hand score-and-snap tool or investing in a more powerful drill before you start. Matching the tool to the power source isn’t a suggestion; it’s what separates a clean weekend project from a frustrating one.
