
How Does a Screw Extractor Work: The 5-Step Method
This post contains affiliate links. As an Amazon Associate, we earn from qualifying purchases.
A screw extractor works by biting into a pre-drilled hole in a broken screw or bolt and turning counter-clockwise. The tool’s reverse-threaded, tapered flutes dig deeper into the fastener’s metal as you turn, locking in place to provide enough grip to back the broken piece out. It’s a mechanical reversal: you drill a hole, jam the extractor in, and unscrew what’s left.
That bite-and-lock action is the whole game. Get it wrong, and the extractor spins uselessly inside the hole, rounding out your last chance. Get it right, and a seemingly ruined project is back on track in minutes. The difference isn’t luck, it’s matching three specifics: the right extractor type for the material, the exact drill bit size for the pilot hole, and the correct drill speed to keep the extractor from shearing off. Understanding how does a screw extractor work is key to that success.
What follows is the shop-floor breakdown. We’ll cover the two main extractor designs and why one can wedge your problem tighter, the five-step method with the speed settings manufacturers actually disagree on, and a size-matching chart that cuts through the numbered chaos. By the end, you’ll know the answer to how does a screw extractor work well enough to hear when it’s starting to fail.
Key Takeaways
- The tool’s reverse-threaded, tapered design is what makes it work; as you turn it counter-clockwise, the flutes bite deeper into the pilot hole, creating a locking grip.
- Always drill the pilot hole first, aim for a clean, burr-free hole 1/16” to 1/8” deep into the center of the broken fastener, using a drill bit specified for the extractor size.
- Straight flute extractors are safer for pipes and soft metals because they extract without expanding the material; spiral types can wedge a screw tighter in its hole.
- If the extractor slips or doesn’t bite, stop. The fix is to re-drill the pilot hole an additional 1/16” deeper or move up one extractor size, not to apply more force.
The Core Mechanism: Biting Backwards to Unscrew
Think of a screw extractor as a reverse-threaded cork screw made of hardened steel. You drill a pilot hole into the stump of the broken fastener. Then you tap the extractor’s tapered, left-handed threads into that hole. When you turn the tool counter-clockwise (lefty-loosey), those threads don’t back out, they drive deeper, jamming themselves against the walls of the hole you just made.
This biting action converts rotational force into inward expansion. The extractor’s flutes are designed to dig into the metal of the broken screw or bolt with increasing torque, locking the tool and the fastener together so you can unscrew what’s left.
That’s the fundamental principle. A right-handed (normal) screw tightens when turned clockwise. A standard right-hand-threaded extractor would just spin out if you turned it counter-clockwise to loosen the screw. So extractors use a left-handed thread. Turning it counter-clockwise to loosen the broken screw simultaneously drives the extractor’s own threads deeper, creating a mechanical lock. This is the core of how does a screw extractor work: a simple, brutal, and effective reversal.
Spiral vs. Straight Flute: The Wedging Problem Nobody Mentions
You’ll see two main extractor designs: spiral (tapered) and straight flute. They work on the same biting-backwards principle, but one has a critical flaw that can ruin your day.
Spiral screw extractors are the classic “easy out.” They’re a single, tapered piece with deep, spiral flutes. Irwin Tools notes that spiral screw extractors bite into harder materials with increasing torque. The drawback is their wedge action. As you drive the tapered spiral in, it expands the drilled-out shell of the broken screw. In a blind hole or a tight-tolerance thread, that expansion can lock the screw even more tightly in place. I’ve seen it happen on a seized engine mount bolt, the extractor bit beautifully, turned a quarter rotation, and then welded the screw remnant solidly into its threads. The job went from extraction to drilling and re-tapping.
Straight flute extractors, like the IRWIN Hanson series, look more like a drill bit with straight, sharpened edges. Irwin Tools states that straight flute extractors extract without expanding the material. They require a more precise pilot hole and are often used with a tap wrench or locking pliers for final turning, not a drill. Their non-tapered design means they don’t generate that locking wedge, so they’re less likely to freeze everything up.
| Extractor Type | How It Works | Best For | Risk If Used Wrong |
|---|---|---|---|
| Spiral (Tapered) | Wedges into pilot hole with left-hand threads; biting force increases with torque. | Hardened steels, stubborn fasteners in open holes. | Can expand and lock the broken fastener permanently if over-torqued in a confined space. |
| Straight Flute | Cuts into pilot hole walls without significant taper; removes material without expanding it. | Soft metals, pipes, fittings, thin-walled materials. | Requires a perfectly sized pilot hole; can slip if the hole is too large or the material is too hard. |
The 5-Step Field-Proven Method (And Where the Manuals Disagree)
The process is universal: drill, flip, extract. But the devil, and the disagreement between major brands, is in the machine settings and the hand pressure.
Step 1: Punch & Secure
Before any drilling, use a center punch to make a solid dimple in the exact center of the broken screw head. This isn’t a gentle tap. Hit it hard enough that the punch tip won’t wander when the drill bit touches down. Secure your workpiece in a vise or with clamps. If it moves during drilling, you’ll snap bits and wander off-center, and the extractor will have nothing true to bite into.
Step 2: Drill the Pilot Hole to the Specified Depth
Here’s the first manufacturer split. You must match the drill bit size to the extractor number. This isn’t a suggestion; it’s the linchpin. An extractor needs a specific diameter hole to bite effectively without bottoming out or spinning freely.
Refer to the chart that came with your set. For example, the IRWIN selection guide states a #2 straight extractor requires a 3/16” drill bit for a 3/8” (10 mm) bolt, though Coopers of Stortford and Milwaukee Tool assign 3/8″ bolts to a #4 extractor. The Coopers of Stortford set specifies a 1/16” – 1/8” deep hole. That’s your target depth, shallow enough that the extractor’s tip won’t hit the bottom before its flutes engage, deep enough to give it plenty of material to grip.
Where this goes sideways: Using a drill bit bigger than the extractor calls for. The extractor will just rattle around in an oversized hole, dulling its edges and guaranteeing a slip. You get one clean bite; waste it with the wrong bit and you’re drilling the whole mess out.
Given the disagreement, follow the instructions for your specific extractor set: Milwaukee Tool recommends high speed for pre-drilling, while Coopers of Stortford implies low speed for all steps.
Step 3: Flip the Bit and Set the Drill
The extractor bit has two ends: a burnishing/drilling end (often marked “A”) and the extracting end (“B”). After drilling, the bit will be hot. Wear gloves, release the chuck, flip the bit, and reseat the extracting end securely. This seems trivial, but a loose extractor is a broken extractor.
Critical Setting: Your drill must be set to REVERSE (counter-clockwise). Double-check this. If you accidentally leave it in forward, you’ll drive the extractor in, tighten the broken screw remnant further, and almost certainly snap the extractor tip off inside the hole. That’s a disaster we’ll cover later.
Step 4: Apply Firm, Straight-Line Pressure and Turn
Place the extractor tip into the pilot hole. Apply firm, downward pressure to seat it. Start the drill at its lowest speed setting. You’re not drilling anymore; you’re asking the flutes to bite and lock. The sound changes from a high-speed whine to a low, grinding growl when it engages. If you hear a high-pitched squeal, it’s spinning without biting, stop immediately.
Common mistake: Switching to high speed for extraction. Milwaukee explicitly says to “switch to low speed” for the extraction step. High speed creates heat and friction, which can cause the extractor to strip the softer metal of the drilled hole or snap under sudden torque.
For free-spinning screws (where the shaft turns but the threads don’t grab), the Coopers of Stortford guide offers a clever fix: “pull drill lightly away from the threads holding the screw.” This slight tension can help the screw’s threads re-engage with the material enough to back it out.
Step 5: Remove the Extracted Fastener and Clean Up
If successful, the broken screw or bolt will come out, often stuck on the end of the extractor. Don’t grab it with your fingers, it’s hot. Tap it against a hard surface or use pliers to pull it off. Clean any metal chips off the extractor and give it a light oiling before storing. These tools are reusable, but only if you don’t abuse them.
Matching Your Extractor to the Screw: A Size Guide That Cuts Through the Numbers
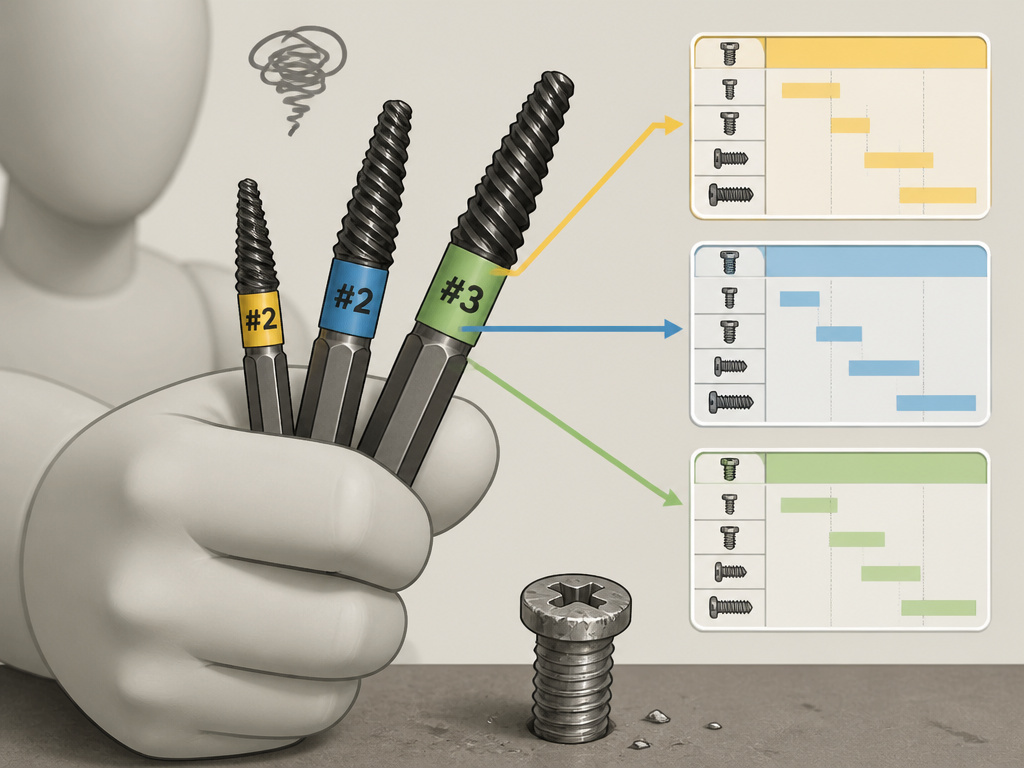
The numbering on extractor sets (#1, #2, #3, #4) is not universal. A #2 from one brand does not match a #2 from another. The only reliable method is to use the guide provided with your specific set. Below is a composite table showing how three major brands map their extractors to common screw and bolt sizes, highlighting where they disagree.
| Extractor # | Coopers of Stortford | Milwaukee Tool | IRWIN Straight Flute (Example) |
|---|---|---|---|
| #1 | Screws No. 4 – No. 7, Bolts No. 10 (5mm) | Screws No. 4-7, Bolts No. 10 (5 mm) | 3/16” – 5/16” screw, 9/64” drill bit |
| #2 | Screws No 8 – No. 10, Bolts 1/7 in. (6mm) | Screws No. 8-10, Bolts 1/4″ (6 mm) | 3/8” screw, 3/16” drill bit |
| #3 | Screws No. 11 – No. 14, Bolts 5/16 in. (8mm) | Screws No. 11-14, Bolts 5/16″ (8 mm) | 7/16” screw, 15/64” drill bit |
| #4 | Screws No. 16 – No. 24, Bolts 3/8 in. (10mm) | Screws No. 16-24, Bolts 3/8″ (10 mm) | 1/2” – 9/16” screw, 5/16” drill bit |
Notice the conflict on a 3/8” bolt? Coopers and Milwaukee assign it to a #4 extractor. IRWIN’s chart, however, assigns a 3/8” bolt to a #2 straight extractor paired with a 3/16” drill bit, while their #4 extractor is for larger screws (1/2” – 9/16”). This is why you must use your kit’s guide. If you mix and match drill bits and extractors from different sets, the tolerances will be off and the tool will fail.
For a stripped #8 wood screw, consult your extractor set’s guide; for example, Coopers of Stortford’s #2 extractor handles screws No 8 – No. 10. For a broken 5/16” bolt, consult your extractor set’s guide; for example, both Coopers of Stortford and Milwaukee Tool assign 5/16″ bolts to a #3 extractor. When in doubt, start with the smallest extractor that fits the pilot hole, you can always move up a size if it slips, but you can’t shrink a hole that’s been drilled too large.
When the Plan Fails: Extractor Slippage, Breakage, and Impossible Screws

Even with the right technique, some fasteners fight back. Here’s what to do when the standard playbook doesn’t work.
If the Extractor Slipped or Didn’t Bite: The Coopers of Stortford guide has the definitive fix. First, try re-burnishing the hole. Using the drill end of the extractor again, drill the existing pilot hole an additional 1/16” deeper. This cleans up the walls and gives fresh, un-deformed metal for the extractor to grip. If that fails, move up one extractor size and start over with the corresponding larger drill bit. The caution here is real: both actions can further compromise the screw head or the tool.
If the Extractor Itself Breaks Off: This is the nightmare scenario. A broken extractor tip, made of hardened tool steel, is now lodged in the center of your broken screw. Drilling it out is nearly impossible. Your only real option is to abandon the hole. Use a drill bit slightly larger than the original screw’s outer diameter and drill out the entire mess, then repair the hole with a thread insert or a larger fastener. This is why you must always use low speed and avoid forcing an extractor; it is a critical preventative measure.
For Hard-to-Remove Screws (Rusted, Seized): Integrate penetrating oil before you ever drill the pilot hole. Soak the joint with penetrating oil to allow it time to wick down the threads. The oil needs time to wick down the threads. When you drill, the heat generated can actually help draw the oil deeper. For the actual extraction, applying a little heat from a heat gun around the bolt (not directly on the extractor) can expand the outer material and break the corrosion bond. Never use an open flame, as it can draw the temper from the extractor’s hardened steel.
Screws You Shouldn’t Touch: Know the limits. The Coopers of Stortford set explicitly warns against extracting screws exceeding 2 inches in length or those with aggressive threads, as the torque required can damage the tool. They also say their extractors are not recommended for drywall/sheetrock screws. These screws are case-hardened and brittle, and their thin shafts often snap under the torsional stress of extraction. For drywall, it’s almost always faster to drill the head out completely and patch the hole.
Required Tools and Safety: Beyond Just a Drill
A screw extractor kit is not a standalone solution. You need a supporting cast of tools to do the job safely and successfully.
The Drill: Coopers of Stortford calls for a 3/8” variable speed, reversible drill. Other brands may have different requirements. This gives you the low-speed control crucial for the extraction step.
Given the manufacturer disagreement, follow the manual for your specific extractor set. Coopers of Stortford prohibits impact driver use, while Milwaukee Tool permits it for certain sizes on low speed.
Drill Bits: You need the exact size specified in your extractor guide. Using generic bits often leads to an incorrectly sized pilot hole. For the toughest jobs, consider using left-hand drill bits. As the IRWIN catalog notes, “for best results, use a left-handed drill bit.” These bits turn counter-clockwise. The theory is that as you drill the pilot hole, the left-hand rotation might actually start to unscrew the broken fastener before you even switch to the extractor. Even if it doesn’t, it ensures your drilling rotation matches your extraction rotation, simplifying the process.
Safety Gear is Non-Negotiable:
- Safety Glasses: Metal shards from drilling and extraction are sharp and travel fast.
- Gloves: The Milwaukee guide explicitly states to “wear gloves when changing bits and handling screws” because both the bit and the fastener get extremely hot. The Coopers guide also warns the extractor “may be hot after drilling.”
- Hearing Protection: A drill at high speed, especially in a confined space, is loud. A screaming extractor biting into metal is worse.
- Secure Workspace: Always clamp your workpiece. A slipping workpiece during extraction can twist the drill violently out of your hands.
How does a screw extractor compare to pliers, a drill, or a screwdriver
When a screw head is stripped, a standard screwdriver will just spin uselessly. Piers can sometimes grip a protruding head, but they often slip and chew up the metal further. Drilling out a screw completely is a last resort, as it can damage the surrounding material and leave threads that are hard to clean. A screw extractor is the tool for when the head is too damaged for anything else to grip. It works by creating a new, reverse-threaded grip inside the screw’s core, allowing you to apply turning force directly to the fastener’s body. This method is specifically designed for broken or stripped heads where conventional tools have already failed.
Frequently Asked Questions
Can you use a screw extractor with an impact driver?
It depends entirely on your extractor brand and model. Coopers of Stortford prohibits it. Milwaukee Tool allows it for their #1-#3 sizes, on low speed. The impact’s hammering action increases the risk of snapping a hardened extractor, especially a spiral type. If your manual doesn’t explicitly say you can, assume you cannot. Use a standard variable-speed drill instead.
What’s the difference between a screw extractor and a bolt extractor?
Screw extractor (or “easy out”) is designed to be driven into a pilot hole drilled in the center of a broken screw or bolt. It grips from the inside. A bolt extractor (or nut extractor) is a socket-like tool with reverse-threaded flutes on its inside walls. It fits over the outside of a rounded-off or damaged nut or bolt head and grips the exterior. Using a screw extractor on a nut won’t work, and vice versa.
Why did my screw extractor break off inside the screw?
The two most common causes are using an impact driver when not allowed and applying too much torque at high drill speed. The hardened steel of an extractor is brittle. A sudden shock from an impact or excessive sideways force as the extractor cams out can snap the tip. Always use the lowest speed setting for extraction and steady, straight-line pressure.
How do you remove a screw extractor if it gets stuck?
If it’s stuck because the screw is coming out with it, tap it off with a hammer or use pliers. If the extractor itself is stuck because it’s wedged or broken, removal is extremely difficult. You can try applying penetrating oil and using locking pliers to turn it counter-clockwise (remember, it’s left-handed). If that fails, you’ll likely need to drill it out with a carbide bit, which is a last-resort, destructive process.
Are left-hand drill bits worth it for screw extraction?
Yes, especially for rusted or seized fasteners. As the Irwin Tools catalog states, “for best results, use a left-handed drill bit.” Because they turn counter-clockwise, they can sometimes back the broken screw out during the drilling phase, eliminating the need for the extractor altogether. Even if they don’t, they ensure your drilling and extracting rotations are synchronized.
The Bottom Line
A screw extractor works by mechanically reversing the failure: you drill a hole, jam a reverse-threaded bit into it, and unscrew the stump. The magic isn’t in the tool, it’s in the preparation. The center punch, the exactly sized pilot hole, the drill set firmly in reverse, and the patience to run at low speed.
Forget the generic advice. Your specific extractor set’s manual is your only reliable guide for sizing and machine settings. If it says no impact drivers, believe it. If it calls for a 3/16” drill bit, don’t substitute a 7/32”. This is a tool that rewards precision and punishes haste.
One final, contrarian take: for a single, accessible broken screw in soft material, a pair of locking pliers on the remaining shank often works faster than setting up a drill and extractor. But when the head is gone and the screw is recessed, the extractor is your only way out. Just make sure you’ve given the penetrating oil time to work first.
