
How to Grind a Weld With an Angle Grinder: Key Takeaways
This post contains affiliate links. As an Amazon Associate, we earn from qualifying purchases.
*To grind a weld with an angle grinder, you match three things: the disc type to the job, the grinder’s power to the abrasive, and the correct working angle to the task.* Use a 60-grit ceramic flap disc for general removal, a grinder rated over 1,200 watts for ceramic grain, and light, moving pressure to avoid heat damage and gouging.
The correct working angle is the hinge point. It’s not a suggestion. Go steeper and the disc digs in, gouging the base metal. Go shallower and you just polish the weld, wasting time and burning out the disc. The angle controls the cut, which is the core principle of how to grind a weld with an angle grinder.
What follows is the sequence that turns a raised, ragged bead into a flush, ready-to-finish surface, answering the core question of how to grind a weld with an angle grinder. This section explains the disc you must avoid for grinding, the visual sign you are grinding too deep, and the method for working in corners a full-size grinder cannot access.
Key Takeaways
- Never use a cutting disc to grind. Cutting discs are thin and can shatter under side-load, sending fragments at high speed. Use only proper grinding wheels or flap discs.
- Match the disc’s max RPM to your grinder’s speed. This rating is printed on the disc. Using an under-rated disc is how wheels explode.
- Let the disc do the work with light pressure. Forcing it creates heat, which shows as a bluish discoloration on the metal and anneals (softens) the steel.
- Cross-sand when moving to a finer grit. If you finish with the same rotary pattern you started with, you’ll lock in deep, visible scratches.
- Discard any dropped wheel immediately. A hairline crack you can’t see will fail catastrophically at 10,000 RPM.
The Golden Rule: Guard Up, Disc Right
This isn’t about preference. The Occupational Safety and Health Administration (OSHA) requires suitable guarding on portable abrasive-wheel tools. The guard must sit between you and the wheel during use. Milwaukee’s manual is just as blunt: According to Milwaukee’s manual, the guard must be used when using the tool as a grinder, but should be removed when using it as a sander.
The other half of the rule is the disc. A cutting disc is for cutting. Its thin design can’t handle the side pressure of grinding. It will crack, then shatter. You need a disc built for lateral force.
Common mistake: Using a cutting disc to grind, or vice-versa. A cutting disc loaded from the side can disintegrate within seconds, sending shrapnel toward your legs and hands. The guard is your last line of defense.
Your first check is always the disc’s Maximum Safe Operating Speed. That number on the wheel must be rated at or above the RPM listed on your grinder’s nameplate. Your second check is a visual inspection for cracks. Run your fingers around the edges. If you see a crack, discard it. If the wheel has been dropped, rolled, or bumped, discard it immediately. That’s not being cautious; it’s following the manufacturer’s directive to the letter.
Choosing Your Disc: Grinding Wheel vs. Flap Disc
You have two main paths for weld removal: the traditional grinding wheel and the modern flap disc. Your choice dictates your technique, finish, and how often you stop to change discs when figuring out how to grind a weld with an angle grinder.
A Type 27 grinding wheel is the workhorse. It’s aggressive, removes metal fast, and, according to Weiler Abrasives Group, holds an edge better to keep a bevel from rounding. It’s your go-to for heavy stock removal where finish is secondary. The trade-off is control, it’s easy to gouge.
A flap disc is what you reach for when you need to remove weld and leave a workable surface in one step. It’s layers of abrasive cloth that wear away, constantly exposing fresh grit. The industry publication The Fabricator notes flap discs can offer up to 20 times the service life compared to other abrasives. For general weld grinding, their recommendation is a 60-grit ceramic flap disc.
| Disc Type | Best For | Not For | Key Spec |
|---|---|---|---|
| Type 27 Grinding Wheel | Heavy, fast stock removal; beveling edges. | Final finishing; thin materials (high gouge risk). | Use with proper guard. |
| Type 29 Flap Disc (Conical) | Aggressive removal with better finish control. | Precision beveling (the angled design rounds edges). | Ceramic grain for longest life. |
| Type 27 Flap Disc (Flat) | Blending and smooth finishing after initial grind. | Removing large weld beads (slower than Type 29). | Creates a more uniform scratch pattern. |
The power of your grinder decides which disc grade you can use. Higher-performance ceramic grain abrasives work best when powered by an angle grinder rated at more than 1,200 watts. If you’re running a smaller, less powerful grinder, a standard aluminum oxide disc is a more honest match. It will wear faster, but it won’t bog down and overheat the tool.
The 3-Step Process: Remove, Blend, Finish
Grinding a weld flat isn’t one action. It’s a progression from aggressive removal to refined blending. Skipping a step means you’ll either spend an hour with a fine disc getting nowhere or you’ll ruin a nearly-finished piece with a deep gouge.
Step 1: Rough Removal. The 10–15 Degree Angle
Your goal here is to knock down the highest point of the weld bead. Don’t try to make it flush yet. Fit your chosen disc, a Type 29 flap disc or a grinding wheel, and secure the guard.
Start the grinder and let it reach full speed before touching the metal. The Fabricator specifies an approach angle of 10 to 15 degrees for effective removal with a fiber disc. Apply light pressure and use the lower quarter of the disc, moving steadily along the weld. You’ll hear a consistent, gritty roar. If the tool chatters or vibrates, stop immediately. That means the disc is catching or you’re at a bad angle.
Where this goes sideways: Starting with the disc flat against the weld. It skates, removes almost no material, and glazes over. That burnt, shiny spot on the disc means it’s done cutting and is just creating friction heat.
Step 2: Blending. Flattening the Field
Once the bead is nearly level with the base metal, switch to a finer grit or a Type 27 flat flap disc. Your goal is to blend the weld zone into the surrounding metal, removing the deep scratches from the first step.
Here, you ease the angle. The Fabricator recommends 5 to 10 degrees to the workpiece surface when easing an abrasive disc in. Use even lighter pressure and keep the grinder moving constantly. Work in overlapping passes. The moment you dwell in one spot, you create a low spot or overheat the metal.
How do you know you’ve ground too deep?
You’ll see a difference in texture or, worse, a dip you can catch with a fingernail. The more reliable warning is color. A bluish or straw-colored discoloration means excessive heat. According to the Milwaukee manual, that’s caused by a circular motion in a small area, excessive pressure, or a worn-out disc. If you see blue, stop. You’ve already softened the steel.
Step 3: Finishing and Cross-Sanding
This is the step that separates a rough grind from a finish-ready surface. If you need a smooth finish for paint or polishing, you must break the rotary scratch pattern.
The Milwaukee manual is explicit: when finishing a surface prepared by a coarse disc, sand at right angles to the strokes made by the coarser disc. Failure to do this leaves deep, circular scratches that no amount of fine sanding will hide.
So, if your grinding passes ran lengthwise along the weld, your next passes with a 120-grit flap disc or sanding pad should go across it. This knocks off the peaks of the scratches from the previous step. Keep the grinder moving, ease up on pressure at the end of each stroke, and work faster on curved surfaces where contact pressure is greater.
Grinding in Corners and Tight Spots
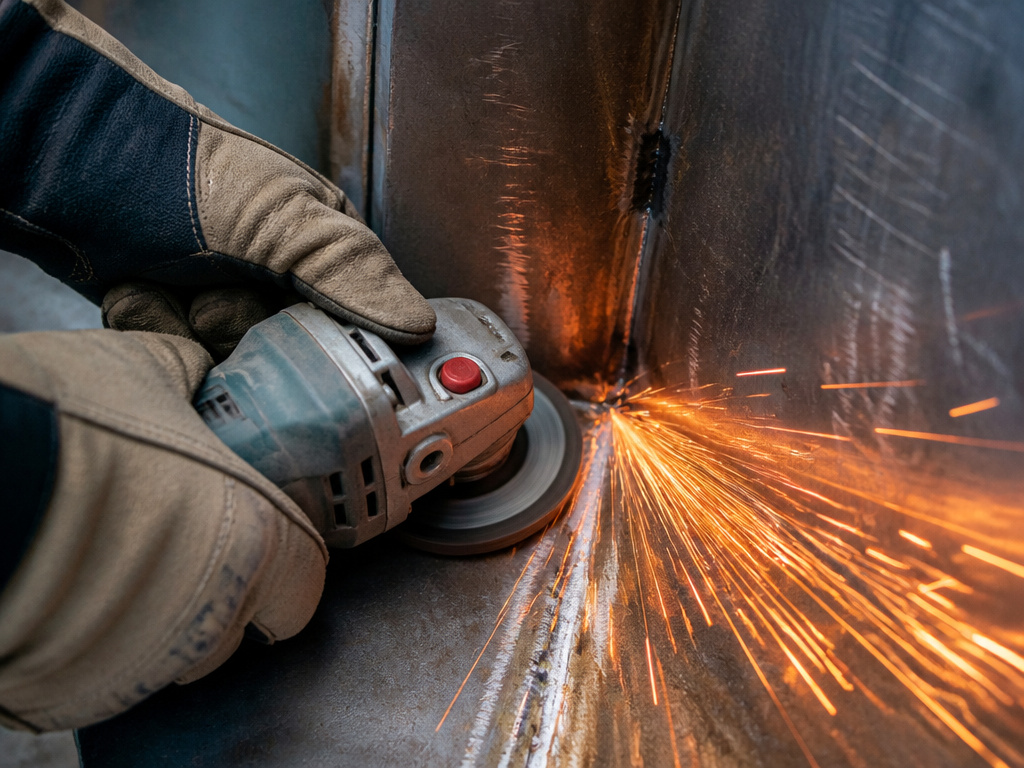
A full-size grinding disc can’t reach into a tight corner. Forcing it only grinds the sides of the disc, wears it unevenly, and loses all control. You have two options.
First, you can use the very corner of a Type 27 grinding wheel. Its flat shape allows you to reach a bit deeper than a tapered flap disc. Use tiny, controlled motions and expect to change wheels more often as the corner wears.
Second, and often better, is to switch tools. A smaller diameter grinder (like a 3-inch) or a dedicated die grinder with a mounted stone or small flap wheel is made for this. The principle is the same, light pressure, correct angle, but the smaller tool gives you the precision a full-size grinder physically can’t.
Easy to miss: Tight corners are where discs catch and snag. If you’re using a non-round disc or backup pad, avoid these areas entirely. A catch at speed will twist the grinder right out of your hands.
What Not to Grind: Safety and Structural Warnings
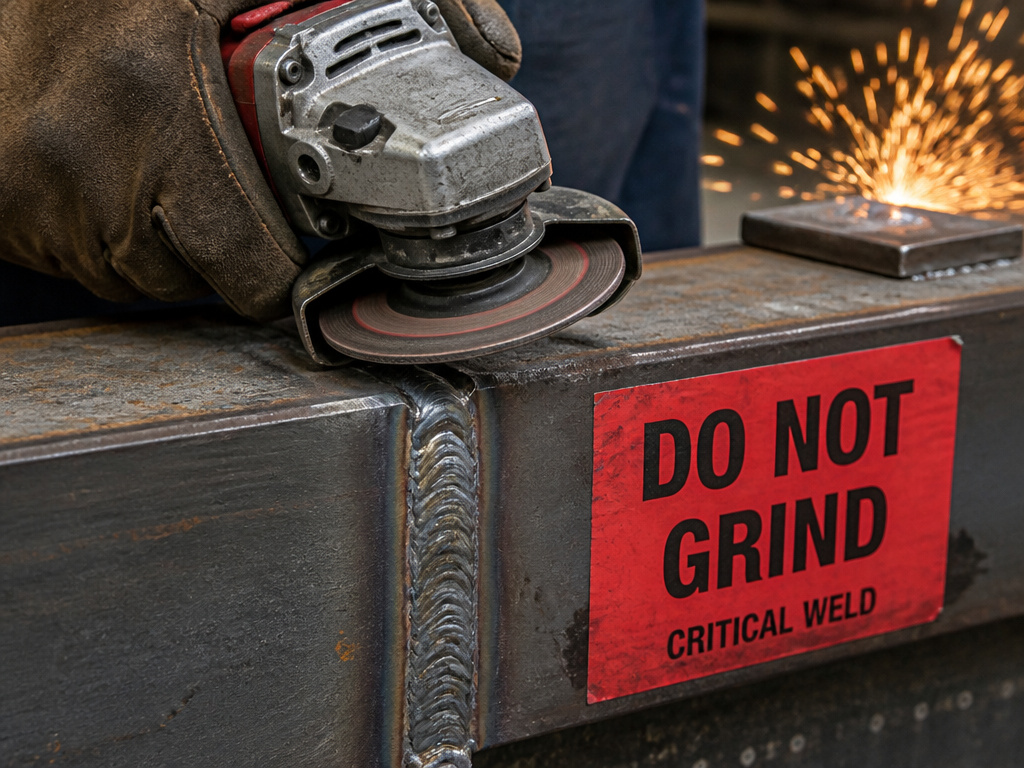
Some welds shouldn’t be touched. This rule is absolute.
Do not grind a structural, code-regulated, safety-critical, or inspected weld flush unless the approved drawing, welding procedure, inspector, or engineer explicitly permits it. Grinding can reduce weld size, remove required reinforcement, hide defects like cracks or slag inclusions, and thin the surrounding base metal. You might make it look pretty while making it dangerously weak.
Stainless steel requires extra caution. If you use a standard grinding wheel on stainless, you can embed carbon steel particles, leading to rust spots later. You need a non-ferrous, iron-free wheel rated for stainless (“inox”). Even then, many pros skip the wheel and use a dedicated stainless flap disc to avoid the risk.
Before You Grind: Setup and PPE
This is the boring part everyone wants to skip. Don’t.
- Clamp your work. A piece that moves will grab the disc and throw it, and the grinder, back at you.
- Inspect the disc and grinder. Check for cracks. Ensure the guard is secure and the side handle is installed.
- Dress for the job. This means:
- Safety glasses underneath a full face shield.
- Hearing protection. Angle grinders are extremely loud.
- Heavy-duty gloves (leather or impact-resistant).
- A long-sleeve shirt made of durable material (no loose cuffs).
- Steel-toe boots are a very good idea.
The guard is not optional. It’s there to deflect sparks, debris, and contain a disc if it breaks. Position yourself so the sparks fly away from you and any flammable materials. Have a fire extinguisher nearby if you’re working indoors.
How to make grinding discs last longer
Your disc choice directly impacts cost and efficiency. Flap discs can offer up to 20 times the service life compared to other abrasives. For general weld grinding, a 60-grit ceramic flap disc is a recommended starting point. To maximize the life of any disc, store it properly. Protect wheels from wetness, extreme humidity, solvents, and sudden temperature changes. Never use a wheel that has been dropped, bumped, or rolled, as internal damage can cause sudden failure. Always inspect wheels for cracks before use and discard any that are damaged. Using the correct approach angle, such as 10 to 15 degrees for removal or 5 to 10 degrees for blending, also reduces wear by letting the abrasive cut efficiently instead of just wearing down.
Frequently Asked Questions
What is the fastest way to grind down a weld?
The fastest removal comes from a Type 29 conical flap disc with ceramic grain, used on a grinder over 1,200 watts. It balances speed with enough control to avoid constant gouging and rework. A hard grinding wheel is marginally faster but much harder to control, often costing you time in the blending stage.
Can grinding a weld make it weaker?
Yes, absolutely. If you grind past the weld reinforcement and into the base metal, you reduce the material thickness and create a thin, weak point. More subtly, excessive heat from grinding can anneal (soften) the heat-affected zone of the steel. The fix is simple: grind only what you need to, use light pressure, and keep the disc moving to manage heat.
Why does my metal turn blue when I grind?
Bluish discoloration is a visual heat indicator. It means you’re applying too much pressure, holding the grinder in one spot, or using a worn-out, glazed disc that’s rubbing instead of cutting. That heat can weaken the metal. Ease up, keep moving, and change to a fresh disc.
What do I do after grinding a weld?
Clean it. Use a wire brush or rag to remove all grinding dust. This is critical before painting or welding nearby, as the embedded abrasive dust will contaminate the next process. Then, inspect your work. Run your finger across it. If it’s smooth and flush, you’re done. If you feel dips or see discoloration, you know what to adjust next time.
The Bottom Line
Grinding a weld flat is about patience disguised as aggression. The tool wants to cut; your job is to guide it without letting it run wild. Start with the right disc, respect the 10-degree angle, and let the abrasive do the work. Your ears will tell you when it’s cutting right, a steady roar, not a screaming chatter.
The one rule I enforce in my own shop: if a disc hits the floor, it goes in the trash. No debate. The cost of a new wheel is nothing compared to the cost of a trip to the emergency room.
