
Why Is My Air Compressor Not Turning On? Causes and Fixes
This post contains affiliate links. As an Amazon Associate, we earn from qualifying purchases.
An air compressor that won’t turn on is usually stopped by one of three things: a complete loss of power, a stuck safety switch, or a seized mechanical component. The fastest way to find out which is to perform an empty tank test, if the motor spins freely with no air in the tank, your problem is electrical or in the pressure switch.
That empty tank test flips the script. It tells you whether to grab a multimeter or a wrench. From there, the manuals from Senco, Sigma, ABAC, and Chicago Pneumatic point to a short list of suspects that are common causes of no-start failures. A user might ask, “Why is my air compressor not turning on?”
What follows is the sequence they don’t print for the why is my air compressor not turning on dilemma: how to move from “it’s dead” to the specific part that failed, with the voltage checks and physical tests that separate a $20 fix from a $200 repair bill.
Key Takeaways
- Start with the empty tank test, if the motor hums or tries to spin only when the tank is empty, the issue is back pressure from a stuck check valve or pressure switch.
- A tripped thermal overload or engaged emergency stop button will silence the motor completely; these resets are often hidden behind a panel or on the motor housing.
- Low voltage from an undersized extension cord is a silent killer; the FS-Curtis manual specifies it as a primary cause, and a significant voltage drop at the outlet can prevent startup.
- The ABAC manual warns not to open a manual tank drain valve with more than 30 PSIG in the tank.
- If your compressor stops due to over-pressure, it may not restart until tank pressure falls below its specific cut-in point. For example, the Sigma C1015 manual notes a cut-in pressure of 125 psi (standard) or 135 psi (VSD), while Senco models have a cut-in pressure of 160 PSI.
The Step-by-Step Empty Tank Test (Your First 5 Minutes)
Here’s the move that saves an hour of guesswork. It answers one question: is the motor mechanically seized, or is it being told not to run?
- Safety First: Unplug the compressor. Open the drain valve at the bottom of the tank completely and let all air escape. You should hear a long hiss and see the pressure gauge drop to zero. Confirm it’s empty.
- Reconnect and Listen: Plug the compressor back in and turn the power switch on. Listen closely.
- Interpret the Sound:
- If the motor spins and runs normally with the empty tank, your compressor is mechanically fine. The problem is almost certainly a stuck pressure switch or a failed check valve holding pressure in the pump head, which prevents the motor from overcoming the load. Your next stop is the section on pressure and check valves.
- If you hear a low humming sound but no movement, the motor is getting power but can’t start under load. This points to a seized pump, a locked motor bearing, or a severe voltage drop. The hum is the sound of an electric motor straining against a physical block.
- If you hear and see nothing, no hum, no click, no movement, the motor isn’t receiving a “start” command. The issue is upstream: a tripped breaker, a blown fuse, a failed pressure switch, or a tripped thermal overload. Your troubleshooting shifts to the electrical path.
The Empty Tank Test Result Motor runs with empty tank = Pressure switch or check valve fault. Motor hums, won’t turn = Mechanical seizure or severe low voltage. No sound, no movement = Electrical fault or safety cutoff (breaker, fuse, overload).
This test is the fork in the road. Everything that follows is about following the correct branch to the failed component.
The 6 Most Common Culprits (And How to Check Them)
Manufacturer troubleshooting guides converge on a short list. Here’s what the Senco, ABAC, Sigma, and Chicago Pneumatic manuals all flag, in the order you should check them.
1. Power Supply & Circuit Protection
This is the “is it plugged in?” tier for the why is my air compressor not turning on issue, but with consequences. The FS-Curtis manual lists “Power not on” and “Fuse blown” as the first two items for a compressor not starting.
- Check the Obvious: Is it plugged into a live outlet? Is the wall switch on? Is the compressor’s own power switch in the “On” or “I” position?
- Inspect the Breaker & Fuse: Go to your home’s electrical panel. Has the breaker for that circuit tripped? Reset it. For compressors with a built-in fuse (common on 120V models), check if it’s blown. The Senco manual explicitly lists a blown fuse as a cause.
- Test the Outlet: Use a simple outlet tester or a multimeter. You need adequate voltage for your specific model; for example, Senco models require 120V. A reading below 105V can prevent startup, as both ABAC and Chicago Pneumatic manuals cite low voltage as a primary cause of a motor that “will not run or motor hums.”
Where this goes sideways: Using an extension cord that’s too long or too thin. The Senco manual warns about “incorrect gauge wire or extension cord length.” Using an extension cord that’s too long or too thin can cause a voltage drop.
2. The Pressure Switch: Your Compressor’s Brain
The pressure switch tells the motor when to start and stop based on tank pressure. When it fails, the brain sends no signal.
- Visual Check: Find the small box with wires and a copper tube leading to the tank. Listen for a click when you turn the power on. No click often means a stuck internal mechanism.
- The Manual Override: Most switches have a manual override lever or button. With the power OFF and tank empty, press it. If it moves freely and clicks, the switch might be okay. If it’s stuck solid, it needs replacement.
- Multimeter Test: For a definitive check, use a multimeter. With the power OFF and unplugged, set the multimeter to continuity or resistance (Ohms). Disconnect the two main power wires from the switch terminals. Place a probe on each terminal. The reading should show no continuity (open circuit) when the tank is empty and the switch is in the “start” position. Manually pressing the override button should then show continuity (closed circuit). If it never closes, the switch is dead.
A faulty pressure switch is a common fix. The process for pressure switch adjustment is straightforward, but if the internals are corroded, replacement is safer.
3. Safety Cutoffs: Thermal Overload & Emergency Stop
These are designed to save your motor from destruction, but they leave you in the dark when triggered.
- Thermal Overload Reset: This is usually a red button on the motor itself, sometimes hidden under a small cover. It pops when the motor overheats. Let the compressor cool for 30 minutes, then press the button firmly until it clicks back in. The Senco and Sigma manuals both list a tripped motor thermal overload as a primary no-start cause.
- Emergency Stop Button: On larger industrial units (like the Sigma or Kaishan), a large, red, mushroom-shaped button may be engaged. Twist it to release.
I’ve seen more than one compressor left for dead because the owner didn’t know the thermal reset existed. It’s always on the motor end bell, opposite the pulley.
4. The Check Valve: A Stuck Gate
The check valve is a one-way gate between the pump and the tank. If it fails stuck open, air rushes back from the tank into the pump cylinder when the compressor stops. This creates back pressure that the tiny starter motor can’t overcome.
- Symptom: This is the classic “emptied the tank, it runs fine, refilled the tank, now it won’t start again” scenario. The motor hums or strains but won’t turn.
- Test: After running and shutting off, quickly remove the air filter from the pump intake. You should not feel a sustained blast of air coming out of the intake. If you do, the check valve is leaking.
- Fix: Replacing a faulty check valve is a common repair. It’s located where the copper discharge line from the pump head meets the tank.
5. Motor Capacitor Failure
Common on smaller, single-phase compressors, the start capacitor gives the motor an extra jolt of torque to begin spinning. When it weakens or dies, the motor just hums.
- Visual Signs: A bulging, leaking, or cracked capacitor case is a dead giveaway.
- Multimeter Test: Discharge the capacitor by shorting its terminals with an insulated screwdriver. Set your multimeter to capacitance (F). A reading far below the rating printed on the capacitor’s side (e.g., a 40 µF cap reading 5 µF) means it’s failed.
This is a cheap and easy fix. Match the voltage (V) and microfarad (µF) rating exactly.
6. Mechanical Seizure: The Worst-Case Scenario
If the pump or motor bearings have locked up due to lack of lubrication, overheating, or contamination, the motor cannot physically turn.
- Test: With the power OFF and belt removed (if belt-driven), try to turn the pump pulley and motor fan by hand. They should rotate freely. If either is locked solid, the unit has seized.
- Cause: Often the result of running with low or no oil, or ignoring extreme overheating. The Sigma C1015 manual warns that operating below 70°C (158°F) allows condensation to mix with oil, leading to internal corrosion and eventual seizure. However, other manufacturers like FS-Curtis advise against operating at ambient temperatures below 32°F.
A seized pump on a small compressor often means a new machine. On a larger unit, a professional rebuild may be economical.
When to Repair vs. When to Replace
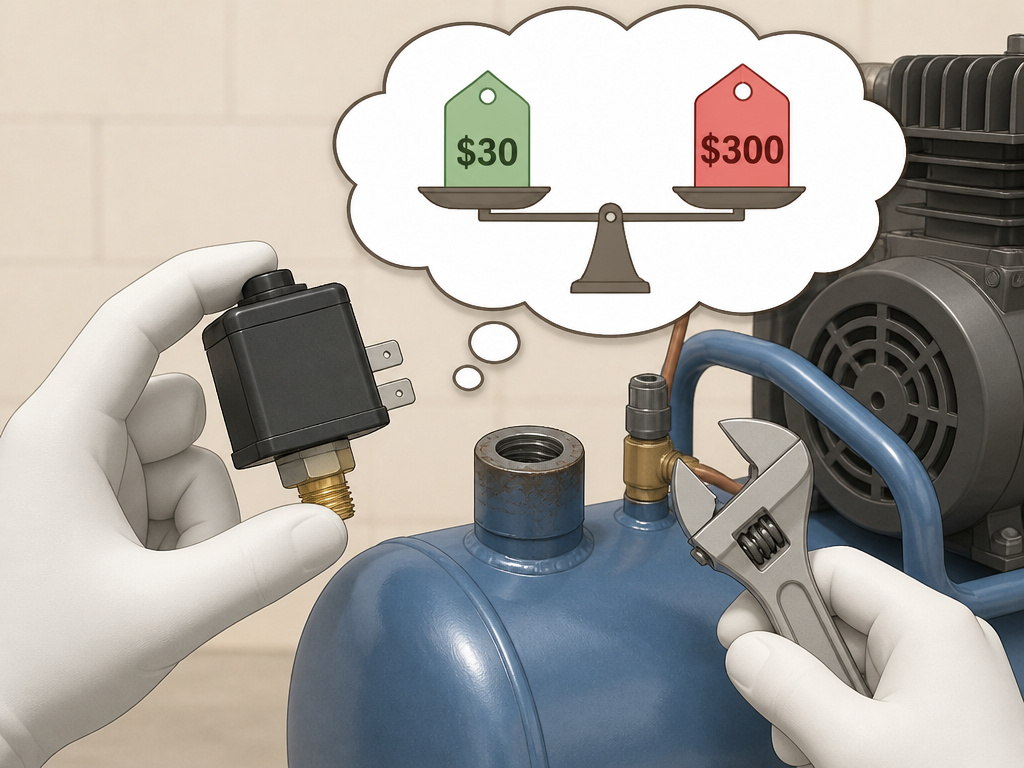
This is the question that hits after diagnosis. The answer isn’t just about the broken part.
| Symptom / Failed Part | Typical Repair Cost | When to Repair | When to Replace the Unit |
|---|---|---|---|
| Pressure Switch | $20 – $50 | Almost always. A 15-minute fix on most models. | Never. This is a trivial part. |
| Check Valve | $15 – $40 | Always. Straightforward replacement. | Never. |
| Start Capacitor | $10 – $30 | Always. Inexpensive and simple. | Never. |
| Tripped Thermal Overload | $0 (reset) | Always reset it. If it trips repeatedly, investigate the cause (dirty motor, low voltage). | Only if the motor itself is damaged. |
| Seized Pump (Oil-less) | $100+ (often not serviceable) | Rarely. Oil-less pumps are often sealed units. Cost may approach a new compressor. | Usually. If a new pump costs >50% of a new compressor, replacement is smarter. |
| Burned-Out Motor | $150+ | On a large, expensive compressor (>$500), a motor swap can be worthwhile. | On a small, budget compressor (<$300), a new motor often costs as much as a new unit. |
The rule of thumb: if the repair bill is a significant portion of the cost of a new compressor, replacement may be the pragmatic choice. You gain a new warranty and modern efficiency.
The Professional’s Safety Checklist

Air compressors combine electricity, pressure, and moving parts. The manuals are unanimous on these non-negotiables.
Before you start: 1. Disconnect power and depressurize. The Chicago Pneumatic manual states this explicitly. Unplug the unit and pull the pressure relief valve ring until the tank gauge reads zero. 2. Wear safety glasses. The ABAC manual specifies glasses meeting ANSI Z87.1 (or CSA Z94.3-99 in Canada). Everyday glasses don’t count. 3. Never open a drain valve under pressure. The ABAC manual warns not to open a manual tank drain with more than 30 PSIG in the tank. Depressurize first.
Following these isn’t just cautious; it’s how you avoid the emergency room visit that every manual writer is trying to prevent. All electrical work should follow the National Electric Code (NEC) and be done by a qualified electrician, as the ABAC guide advises.
Low Oil Level or Safety Switch
Many compressors have a safety switch that prevents the motor from starting if the oil level is too low. This protects the pump from running dry and causing severe damage. Check the oil sight glass on the side of the pump; for Chicago Pneumatic models, the oil level should be 1/2 to slightly higher in the oil sight glass. If it’s low, add the correct grade of compressor oil as specified in your manual. After topping off, try restarting the unit. If the compressor still won’t turn on, the safety switch itself may be faulty and require professional inspection.
Frequently Asked Questions
Do air compressors have a reset button?
Most do, but it’s not always obvious. Smaller 120V compressors often have a thermal overload reset button on the motor casing. Larger industrial units have a more prominent emergency stop button. Consult your manual, knowing where it is before a problem occurs saves frantic searching.
What should I do if my air compressor won’t turn on?
Follow the empty tank test outlined above. It immediately tells you if the problem is electrical (no power/command) or mechanical/pressure-related (back pressure preventing start). This first step prevents you from wasting time checking the pressure switch when you actually have a tripped breaker.
Why did my air compressor suddenly stop working?
Sudden stops are typically safety interventions. A tripped thermal overload from overheating, a tripped circuit breaker from a voltage spike, or a pressure switch cutting out due to a faulty sensor are the most common reasons. It’s the machine protecting itself from what it sees as a dangerous condition.
How to tell if a compressor motor is burned out?
Burned-out motor often has a distinct smell of burnt insulation or varnish. Visually, you may see charred or melted wire windings inside. With power off, the motor may not turn freely by hand (seized bearing), or with power on, it may hum loudly without turning while drawing very high current (measured with a clamp meter). A multimeter continuity test across the windings showing an “open” circuit confirms it.
Before You Go
Start with the empty tank test. It’s the five-minute investment that tells you which world of problems you’re in. From there, the path is remarkably linear: check for power, listen for the pressure switch click, feel for back pressure at the check valve.
Most no-start problems land in the first three categories, a tripped breaker, a stuck pressure switch, or a tripped thermal overload. These are fixes you can do this afternoon with basic tools. The more serious mechanical failures announce themselves with unmistakable signs: the smell of burnt windings, the locked solid pulley, the continuous blast of air from the intake.
One final, essential step: whatever you fix, re-establish a maintenance routine. Change the oil on schedule, drain the tank after every use, and keep the motor clean. A compressor isn’t something you just buy; it’s something you keep up with.
