
What Nails to Use for Fence Pickets: How to Choose
This post contains affiliate links. As an Amazon Associate, we earn from qualifying purchases.
For fence pickets, use galvanized or stainless steel ring shank nails. The nail length must penetrate the bottom rail by at least one-third of the rail’s thickness.
Choosing the right fastener is where a successful fence project separates itself from a future repair list. The basics, length, coating, shank type, are simple, but the difference between a fence that lasts a decade and one that sags in three years lives in the specifics you match to your wood, starting with what nails to use for fence pickets.
What follows is the breakdown you need when you compare a what nails to use for fence pickets: the one-third penetration rule that decides length, the shank type that matches your wood species, the corrosion-resistant coatings that actually work, and the nail gun setup that won’t jam on you.
Key Takeaways
- Match nail length using the 1/3 penetration rule: the nail must go at least one-third of its length into the bottom rail.
- For holding power, ring shank nails outperform smooth shanks, especially in softer woods like pine or cedar. In very hard woods, the advantage lessens.
- Use hot-dipped galvanized or stainless steel nails. Electro-galvanized coatings provide a thinner zinc plating compared to hot-dipped galvanizing.
The 1/3 Rule for Nail Length and Penetration
Forget the generic “use 2-inch nails” advice. The real metric is penetration depth into the rail, the piece of wood holding everything together. If the nail tip just pokes through the picket and barely bites the rail, the first strong wind will start pulling it loose.
The rule from structural fastener guides is straightforward: for allowable shear values, the nail must be embedded into the wood for the entire nail length or 10 nail diameters, whichever is less. That’s the engineered ideal, but a practical, field-tested minimum is the one-third rule: the nail should penetrate the bottom rail by at least one-third of the rail’s thickness.
Where this goes sideways: Using a nail that’s too short. A 2-inch nail through a 5/8-inch picket leaves only about 1-3/8 inches to penetrate the rail. If your rail is a true 2×4 (1.5 inches thick), that’s under 3/4 inches of bite, not enough. The joint will work loose within a single season of wood expansion and contraction.
Here’s how to apply the rule with common materials:
| Picket Thickness | Rail Thickness (Standard 2×4) | Minimum Nail Length | Better, Safer Choice |
|---|---|---|---|
| 5/8 inch | 1.5 inches | 2 inches (6d) | 2.5 inches (8d) |
| 3/4 inch | 1.5 inches | 2.5 inches (8d) | 3 inches (10d) |
| 1 inch | 1.5 inches | 3 inches (10d) | 3.5 inches (16d) |
The “Better, Safer Choice” column gives you that critical extra half-inch of penetration. That might not sound like much, but in the real world, it’s the difference between a nail that holds and one that telegraphs a popping sound every time the temperature drops.
The Shank Type Decision: Grip vs. Speed
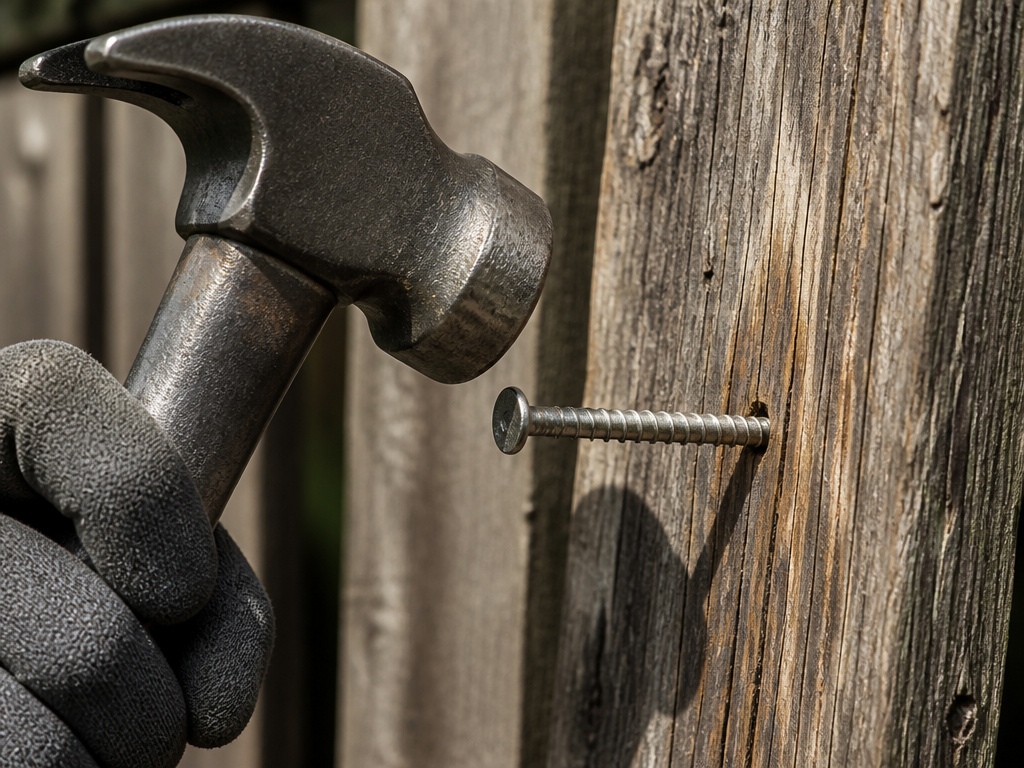
All nails are not created equal where it counts, the shank. A smooth shank nail relies on friction. A deformed shank, ring or screw, bites into the wood fibers, mechanically locking itself in place.
The ISANTA fastener evaluation report and technical bulletins make the distinction clear: smooth shanks are for general framing and sheathing, while ring shanks are “targeted for use in softer woods like pines and firs” for higher withdrawal resistance. As you drive a ring shank nail, the wood fibers compress into the annular grooves; when they relax, they grip the rings like tiny barbs.
For nails with flat round heads and shank diameters that are no more than two-thirds of the head diameter, reference head pull-through design values must be determined in accordance with Section 12.2.5 of the 2018 NDS.
For fence pickets, which are constantly tugged by wind, that mechanical lock is the core of what nails to use for fence pickets. My stance is simple: for any exterior wood fence, especially with softer woods like cedar or pressure-treated pine, ring shank nails are the default. The increased cost is negligible compared to the security they provide.
According to ISANTA technical bulletins, screw shank nails are often used for harder / denser woods, while ring shank nails are targeted for softer woods like pines and firs. They essentially cut a thread as they drive. For fence work with standard softwoods, a ring shank nail is perfect. Save the screw shanks for dense hardwood trim or decking.
Corrosion is the Silent Killer: Picking the Right Coating
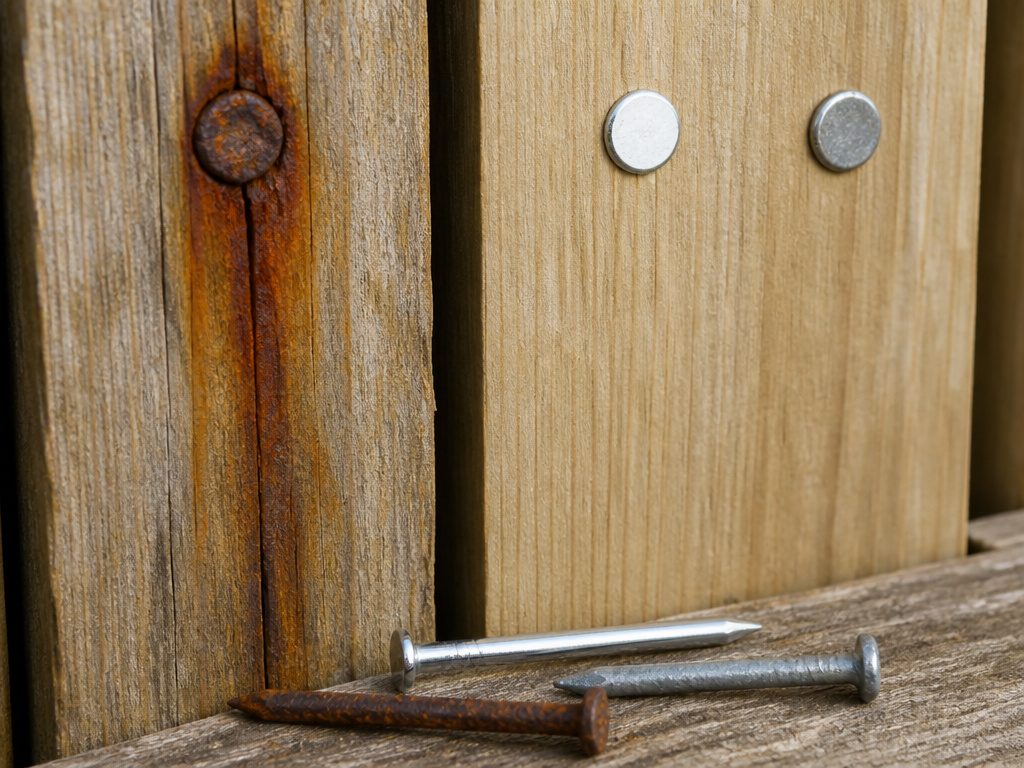
You can get the length and shank type perfect and still watch your fence fail in five years if you ignore the coating. The wrong metal against wet, acidic wood (like cedar or pressure-treated lumber) creates a galvanic reaction. The nail corrodes, weakening the joint and leaving ugly black or red streaks down your pickets.
The USDA Forest Service fastenings guide notes that moisture changes can reduce a nail’s withdrawal resistance to 25% of its initial value. Corrosion accelerates that loss dramatically.
- Stainless Steel (304 or 316): The gold standard. It will not rust or stain, even in direct ground contact or with acidic woods. The cost is high, but for cedar or redwood, it’s the only guaranteed clean option.
- Hot-Dipped Galvanized (HDG): The workhorse. The nail is dipped in molten zinc, creating a thick, durable coating that sacrifices itself to protect the steel underneath. This is the recommended and most cost-effective choice for pressure-treated lumber and most outdoor projects.
- Electro-Galvanized: A thin zinc plating applied electrically. It’s better than bright (uncoated) steel but can wear through quickly during driving and offers limited long-term protection. Don’t use it for a fence you expect to last.
The galvanized vs stainless steel debate often comes down to wood type and budget. For pressure-treated pine, HDG is perfect. For premium cedar where stains would be a disaster, bite the bullet and go stainless.
Nail Gun or Hammer? The Tool Choice Changes the Game
How you drive the nail is as important as the nail itself. A framing nailer is the professional’s choice for speed and consistency, but it introduces new variables: strip angle and collation.
- Framing Nailers (21° or 34°): These are the standard for fence building. They fire full-round-head nails collated in plastic strips. Check your tool’s manual, the angle is not interchangeable.
- Coil Nailers: Hold a large coil of nails (often 300+). They’re heavier but require fewer reloads, which is great for very long fence runs. They typically use nails with clipped heads (D-heads or offset heads). For pickets, it’s usually fine, but verify if you’re in a high-wind area.
Common mistake: Loading a mix of nail brands into your nail gun. Even if they’re the same “8d ring shank,” dimensional tolerances per ASTM F1667 mean slight differences in shank diameter or head thickness. These differences will jam your tool. Pick one brand and stick with it for the entire project.
Hand nailing is absolutely viable, especially for smaller projects. It’s quieter, requires no compressor, and gives you ultimate control. The trade-off is time and arm fatigue. If you go this route, use a sufficiently heavy hammer, and pre-drill. Drilling a pilot hole slightly smaller than the nail’s shank diameter prevents splitting, which is almost guaranteed when nailing near the end of a dry cedar picket.
For a detailed walkthrough on tool operation, our guide on how to build a fence covers the process from layout to the last nail.
Pre-Drilling and Wood Type: The Splitting Avoidance Guide
Wood doesn’t always cooperate. Dry, brittle woods like cedar and redwood are notorious for splitting, especially when you nail within an inch of the board’s end. This isn’t a sign of poor skill, it’s physics. The nail acts like a wedge, forcing the wood fibers apart faster than they can compress.
The fix is simple: pre-drill a pilot hole. The hole should be slightly smaller than the nail’s shank diameter.
Pressure-treated wood is often installed while still damp (“green”), which makes it more forgiving and less prone to splitting. You can usually get away without pre-drilling in the field of the board, but still drill near the ends.
This is also where your choice between a framing nailer or finish nailer becomes clear. A finish nailer uses a smaller-gauge brad or finish nail, which significantly reduces splitting risk but lacks the holding power for a structural outdoor fence. For attaching pickets, the framing nailer is the right tool for the job.
The Fastener Specs: Decoding the “d” and Diameter
Nail sizing uses an old “pennyweight” system, abbreviated with a “d.” It correlates to length, but the shank diameter is the more critical spec for strength.
| Penny Size (d) | Length (inches) | Nominal Shank Diameter (inches) | Common Type |
|---|---|---|---|
| 6d | 2 | 0.113 – 0.131 | Box, Common |
| 8d | 2.5 | 0.131 | Common |
| 10d | 3 | 0.148 | Common |
| 16d | 3.5 | 0.162 | Common |
Common nails have a thicker diameter for their length. Box nails are thinner to reduce splitting but have lower holding power. Cooler nails are thinner and shorter still. For fence pickets, you want the holding power of a common nail or its ring-shank equivalent.
Manufacturers like MiTek have systems like True Spec, which uses paint colors or stamped codes on the nail head to identify length and diameter after driving, a useful feature for inspections. For example, MiTek’s True Spec system uses paint colors or stamped codes on the nail head to identify length and shank diameter after driving.
What Nail Gun Should I Use for Fence Pickets?
When using a power nailer, the head dimensions of the nails must comply with the manufacturer’s specifications and be suitable for the specific make and model of the tool. This is crucial to prevent jams and ensure consistent driving. Nails for power tools often have notched, D-head, or offset head shapes, which allow for a larger number of nails to be closely spaced together in a collated strip. Always use nails designed for your specific gun. For fence work, where you need to drive many nails quickly, a tool that reliably handles the correct nail length and shank type for your wood will make the job faster and more secure.
Frequently Asked Questions
Can I use screws instead of nails for fence pickets?
Yes, and in some cases, screws are better. Deck screws offer tremendous withdrawal resistance and are easier to remove for repairs. However, they are significantly more expensive and slower to install than nails, especially with a nail gun. For a large fence, cost and time usually make nails the more practical choice.
What is the best nail gun for fence pickets?
21-degree or 34-degree plastic-collated framing nailer is the standard. Brands like DeWalt, Bostitch, and Metabo HPT make reliable models. The best choice depends on your existing battery ecosystem (if cordless) or air compressor setup. We review specific models in our article on the best nailer for fences.
How many nails should I use per fence picket?
Will stainless steel nails rust?
Quality 304 or 316 grade stainless steel nails will not rust under normal atmospheric conditions. They are the only fastener recommended for direct, prolonged contact with highly acidic woods like cedar and redwood without risk of staining.
Can I use a brad nailer for fence pickets?
No. An 18-gauge brad nailer fires nails that are too thin and short for the structural demands of an outdoor fence. They lack the shear and withdrawal strength to hold a picket securely against wind load. A framing nailer is the correct tool.
The Bottom Line
The right nail for your fence picket isn’t a mystery. It’s a combination of three verified specs: enough length to penetrate the rail deeply, a deformed shank to lock into the wood, and a corrosion-resistant coating that matches your lumber.
If you want one answer for a standard pressure-treated pine fence: 2.5-inch (8d) hot-dipped galvanized ring shank nails, driven with a framing nailer. That combination has held up countless fences through seasons of sun, rain, and wind.
For cedar, the equation changes slightly. The potential for stain from galvanized nails is real, even if it takes years to appear. If you’re investing in cedar for its looks, pair it with stainless steel nails. The higher upfront cost is the insurance premium for a clean, lasting finish.
Finally, respect the wood. If it’s dry, brittle, or you’re nailing near the end of a board, take the extra minute to pre-drill. A split picket on the last run of the fence is the most expensive lesson in rushing you’ll ever learn. Measure, match, and drive with confidence.
