
How to Remove a Rivet: Step-by-Step (Without Damage)
This post contains affiliate links. As an Amazon Associate, we earn from qualifying purchases.
To remove a rivet, you typically drill out its head or flange with a bit slightly smaller than the rivet shank, then punch or pull out the remaining stem. The exact method, and whether you should drill through the head at all, depends entirely on the rivet type: solid, blind (pop), self-piercing (SPR), or a specialty type like a T-rivet or waterproof rivet. Factory manuals for a Lexus IS300, a BMW 5 Series GT, and a Tesla Model 3 each prescribe different tools and steps, proving there is no single universal rule.
That variance isn’t academic. Using the wrong technique on a steel rivet can harden it and snap your drill bit; on a waterproof rivet, it can cause the whole fastener to spin uselessly. The process pivots on identifying what you’re dealing with before you even touch a tool, which is the first step in learning how to remove a rivet.
What follows: a breakdown of the four most common rivet types and the factory-backed methods to remove each, the tools you actually need (beyond just a drill), and how to handle the stubborn cases that break the standard how to remove a rivet rules.
Key Takeaways
- Identify the rivet type first, drilling a blind rivet like a solid one will damage the hole; the Lexus manual lists four distinct procedures for aluminum, steel, waterproof, and T-rivets.
- For blind rivets, drill almost through the head with a bit slightly smaller than the shank, then punch the stem out, the HMMWV technical manual warns that drilling through can enlarge the hole.
- Sources disagree on whether to drill out a rivet head: the BMW 5 Series GT F07 Repair Manual forbids it to prevent tapering, while the Tesla Model 3, HMMWV, and generic rivet kit instructions specify drilling out or almost through the head.
- Self-piercing rivets (SPRs) in modern cars like Teslas often require a dedicated SPR removal tool or a high-strength steel drill bit, as grinding is a last resort.
- A jammed rivet in the tool itself is a separate fix requiring disassembly of the riveter’s nose piece and collets, per a generic jammed rivet guide.
The Drilling Method: Step-by-Step with OEM Specs
Drilling is the most controlled way to remove a rivet, but the how to remove a rivet question isn’t answered by one procedure. The factory service manuals in our research disagree on a fundamental point: should you drill through the rivet head, or just up to it?
The HMMWV technical manual is clear for solid rivets: drill through the rivet head using a drill slightly smaller than the rivet shank diameter. It specifies using a drill “slightly smaller than diameter of rivet shank to avoid making rivet hole oversized.” For blind rivets, it changes tack: “drill almost through rivet head.” The goal is to weaken the head so you can shear it off with a chisel without distorting the surrounding panel.
Before you start: Wear protective glasses. The Lexus IS200/IS300 manual notes that “while upward drilling, wear protective glasses.” The cut rivet is also hot. Secure the workpiece so it cannot spin, as a spinning rivet can damage the hole and break your drill bit or cutter.
Contrast that with the BMW 5 Series GT F07 repair manual, which states: “IMPORTANT: To prevent the material from tapering, do not drill out the rivet head.” Instead, it advises carefully spot-drilling the rivet head with a larger drill bit or countersink, then knocking the head away. This is a crucial distinction for thin sheet metal where a wandering drill point can bell out the hole.
Here is the distilled process that reconciles the most common manual instructions:
- Center Punch: Make a sharp dimple in the exact center of the rivet head. This gives your drill bit a place to start and prevents it from skating across the hard surface.
- Select the Drill Bit: Choose a bit sized according to the rivet type.
- Solid Rivet: Use a bit slightly smaller than the rivet shank diameter (per the HMMWV manual).
- Blind Rivet: Use a bit slightly smaller than the rivet shank and drill almost through the head.
- General Use: A #30 drill bit is recommended in one generic Rivet Replacement Kit Instructions for rivet replacement.
- Drill Vertically: Hold the drill perfectly perpendicular to the work surface. The Lexus manual emphasizes this: “Gently and vertically put the drill to the rivet, and cut the rivets flange.” It also instructs putting tape around the drill blade 5 mm (0.20 in.) from the tip to act as a depth stop and prevent damage to the underlying material or rivet hole.
- Remove the Head: Once the head is loose or severed, punch out the remaining shank. For blind rivets, the mandrel (the stem) will often push out easily. For solid rivets, you may need to support the back side and drive the shank out with a pin punch.
| Rivet Type | Drill Bit Strategy | After Head Removal | Key Manual Source |
|---|---|---|---|
| Solid Rivet | Drill through head with bit smaller than shank. | Drive out shank with punch. | TM 9-2320-387-24-2 (HMMWV) |
| Blind Rivet | Drill almost through head with bit smaller than shank. | Punch or pull out mandrel. | TM 9-2320-387-24-2 (HMMWV) |
| Waterproof/Aluminum Rivet (ø4.8/6.0mm) | Cut flange, then continue drilling to push out fragments. | Fragments removed by continued drill. | Lexus IS200/IS300 Manual |
| Steel Rivet | Cut flange, then stop drilling. | Pull out fragments with pliers. | Lexus IS200/IS300 Manual |
Start with a new or freshly sharpened bit.
Alternative Methods Without a Drill
What if you don’t have a drill, or you’re working in a tight space where one won’t fit? Two other techniques appear in the source material, each with a specific use case.
Grinding or Cutting the Head Off: This is the go-to for extremely hard fasteners or when you need flush removal. The HMMWV manual addresses lockbolts that are “too hard to be drilled with available drills,” instructing you to “grind the head down using a cutoff wheel or carbide bit in a die grinder.” Similarly,
Common mistake: Using an angle grinder without a guard on a small rivet head. The wheel can catch, buckle the thin metal, and send the workpiece flying. Use a small die grinder or Dremel tool with a cutoff wheel for precision, and always wear a face shield.
Chopping the Head with a Chisel or Scraper: A more rudimentary but effective approach for softer aluminum or pop rivets. The generic Rivet Replacement Kit instructions describe it: “Chop off the head with a metal paint scraper or thin screwdriver by sliding it under the head from the side and tapping with a hammer.” This is essentially a controlled shearing action. The BMW manual’s “knock the head away with a chisel” after spot-drilling is a variant of this.
Why would you choose one over the other? Grinding is for hardness and flushness; chopping is for accessibility and speed when a drill is unavailable. Grinding creates a lot of fine, hot metal dust, so you need ventilation and fire safety in mind. Chopping risks deforming the surrounding material if you miss and hit the panel.
Tools You Actually Need (Beyond the Drill)
A successful rivet removal is about the right accessory as much as the main tool. The factory manuals call out specific, sometimes obscure, items.
- Center Punch: Essential for starting a clean drill hole.
- Pin Punches: A set of graduated sizes to drive out shanks without jamming. The BMW manual specifies a 6 mm punch for driving out a stem.
- Pliers/Locking Pliers: For gripping and pulling out remnants, especially after the flange of a steel rivet is removed, as directed by the Lexus manual.
- Specialized Collecting Tools: The BMW procedure uses Special Tool 72 1 210, a collecting tray that catches rivet remnants. The manual even has a contingency: “If the rivet falls out of the collecting tray into the side frame… This area must be generously filled with foam.”
- Rivet Cutter: A dedicated tool like a rivet cutter mentioned in the Lexus manual. However, the manual contains a critical warning: it can cause abnormal drill spin and breakage on certain rivets. The Lexus manual states that for a T-Rivet with ø6.4 mm, use a punch with ø5 mm to stamp out the mandrel.
- Masking/Painter’s Tape: To protect the surrounding surface from accidental scratches or dents from tool “kick,” as recommended in the generic rivet kit guide.
Having the right punch size matters. The Lexus manual’s specific call for a ø5 mm punch for a ø6.4 mm T-rivet isn’t arbitrary; a larger punch would deform the hole, a smaller one wouldn’t effectively drive the mandrel.
Dealing with Stubborn or Spinning Rivets
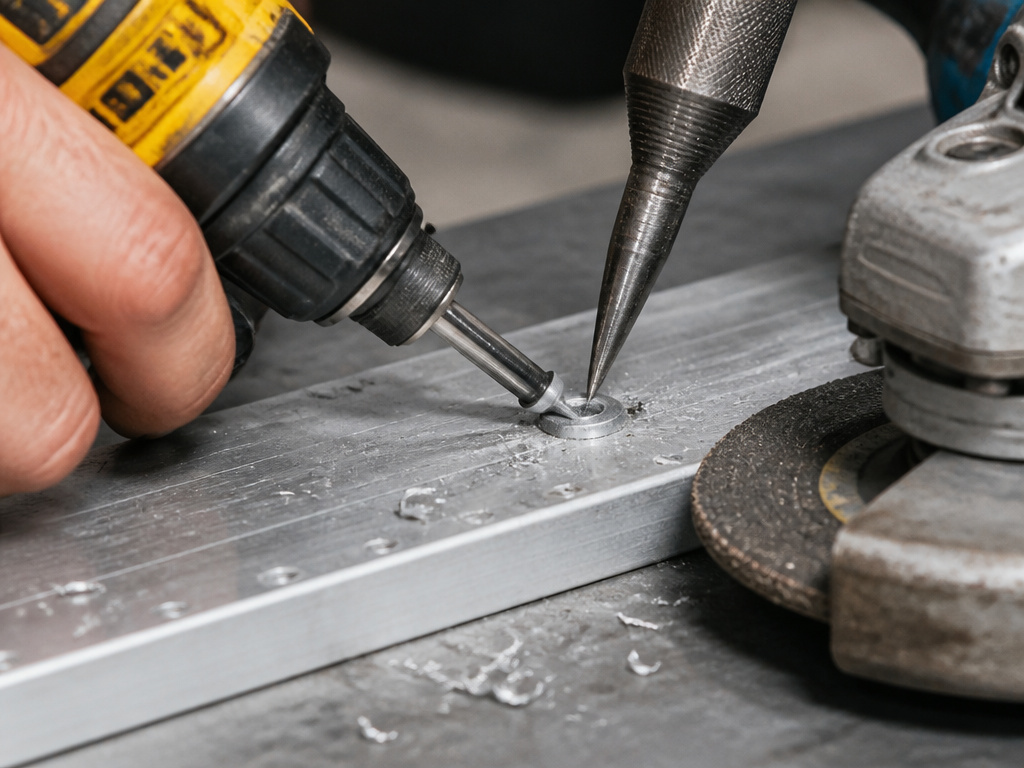
You followed the steps, but the rivet just spins in its hole. Or worse, it’s jammed inside the rivet tool itself. These edge cases have documented solutions.
The Spinning Rivet: This often happens with waterproof or certain aluminum rivets. The Lexus manual explains why: “When an ordinary cutter is used for a waterproof-rivet with ø4.8 mm or ø6.0 mm, the rivet can not be cut as it spins with the cutter.” The fix is to change your approach. Apply firm downward pressure with the drill while increasing speed, or use a sharp center punch to try and “stake” the rivet head to the base material, breaking the spin. If it persists, switch to grinding the head off.
The Jammed Rivet in the Tool: This is a failure of the riveter, not the workpiece. A generic Jammed Rivet Help Guide provides a disassembly sequence:
- Remove the collar(s) and spring by hand.
- Unscrew the front end using a spanner on the flats.
- If the mandrel head is visible, try pulling it out with pliers. If not, use a screwdriver to push the internal collets back to release tension on the mandrel.
- Pull the retaining ring back to unscrew the collet head, then remove the jammed mandrel. The guide ends with a preventative tip that solves many jams: “Ensure the riveter is held perpendicular to the surface.” Angled force binds the mechanism.
Stripped, Hardened, or Broken Rivets: When a drill bit snaps off in a rivet or the head strips, you enter extraction territory. The principles are similar to removing a broken bolt or removing a stripped screw: use a left-hand drill bit or an extractor. This is where a screw extractor becomes a rivet-saver. Drill a small pilot hole into the center of the stubborn remnant, tap in the extractor, and back it out.
How to clean up metal shavings after removing a rivet
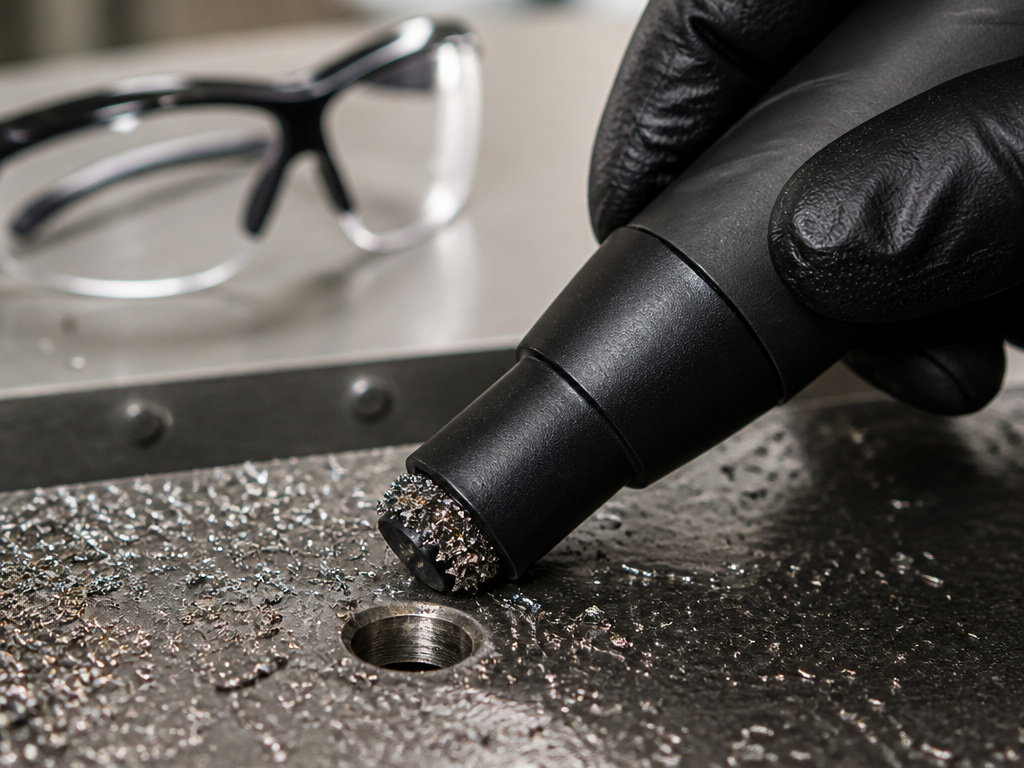
Cleaning up after rivet removal is a critical safety and preparation step. Metal shavings and fragments are sharp and can cause injury or contaminate surfaces. Wear protective glasses during the entire process, as debris can be ejected while drilling or punching. If a rivet falls into a cavity, such as a vehicle’s side frame, the area may need to be filled with foam to prevent rattles and contain the debris. Use a shop vacuum with a magnetic nozzle or a brush to thoroughly collect all metal particles from the work surface and the rivet hole itself. Ensure no small fragments remain, as they can interfere with the installation of a new fastener or cause damage later.
Frequently Asked Questions
What is the easiest way to remove a rivet?
For most standard aluminum pop rivets, drilling with a #30 bit is the easiest and most controlled method. For a flush removal without tools, the “chop and tap” method with a sharp scraper can work, but it requires care to avoid damaging the surrounding material.
How do you release a rivet?
You “release” a rivet by defeating its head, which is what holds it in place. This is done by drilling, grinding, or shearing the head off. Once the head is gone, the shank or mandrel can be pushed or pulled out from the opposite side.
What are common mistakes when removing rivets?
The most common mistake is using the wrong drill bit size or technique for the rivet type, leading to enlarged, damaged holes. Others include not center-punching (causing the drill to skate), applying too much force (spinning the rivet), and neglecting eye protection against hot metal shards.
What tool is used to remove the head of a rivet?
Drill with the appropriately sized bit is the standard tool. However, specialized tools exist, like dedicated rivet cutters (e.g., P/N 09060-60350) or SPR removal tools for self-piercing rivets in automotive repair. For hard fasteners, a grinder or cutoff wheel becomes the necessary tool.
The Bottom Line
Removing a rivet isn’t a single skill; it’s a small decision tree. Start by identifying what you’re dealing with, blind, solid, or specialty, then match your tool and technique to the factory manual that covers it. Using tape 5 mm from the drill tip, as specified in the Lexus manual, can help prevent drill damage. When in doubt, go slower, press lighter, and drill a test hole in a scrap piece first.
If you’re removing many rivets or working on a vehicle, investing in a dedicated pneumatic rivet gun for installation makes sense, but for removal, patience and the right drill bit are 90% of the job. And when you encounter something that behaves more like a Huck bolt than a simple pop rivet, recognize that you’ve crossed into a different category requiring grinders and possibly professional help.
