
Can You Use Regular Drill Bits in an Impact Driver?
This post contains affiliate links. As an Amazon Associate, we earn from qualifying purchases.
Yes, you can use regular drill bits in an impact driver, but only with a 1/4” hex-shank bit adapter, and only if you follow strict safety steps to prevent the bits from shattering or burning out the tool’s motor. Using standard round-shank twist bits directly is impossible, they physically won’t fit the impact driver’s 1/4″ hex chuck.
That’s the simple answer. The real answer lives in the manuals, and they don’t all agree. Sources disagree: the Milwaukee manual permits drilling, a Home Depot manual prohibits it, and others like Harbor Freight and JCB set specific conditions for use. This is why you must ask, can you use regular drill bits in an impact driver? Your job is to know which rule applies to your tool and your situation before you pull the trigger. A broken bit isn’t just a waste of money, it’s a safety hazard.
This guide walks through the three things that decide whether drilling with an impact driver works or fails: the physical fit, the official manufacturer stance, and the exact technique to use if you decide to proceed after asking can you use regular drill bits in an impact driver. By the end, you’ll know the names of the bits that work, the ones that will snap, and how to read your own tool’s manual for the final word.
Key Takeaways
- A standard round-shank drill bit will not fit an impact driver’s 1/4″ hex chuck without an adapter.
- The JCB 21-18ID manual forbids using standard 25mm long hex bits directly into the chuck, mandating they be used with a hex bit tool holder instead.
- For safe, occasional drilling, use impact-rated hex-shank drill bits and always start at the lowest speed setting.
- Let the bit cool before touching it, bits heat up dramatically during impact driver use and can cause burns.
- If a bit jams, release the trigger immediately; continued torque can snap the bit or cause injury.
The Physical Compatibility Problem
Look at the business end of your impact driver. You’ll see a 1/4″ hexagonal hole. Now look at a standard drill bit from your kit. It has a smooth, round shank. One is a square peg, the other is a round hole, they’re incompatible by design.
A 1/4″ hex collet, like those on the Harbor Freight 73238 or the Kobalt KID 124B-03, only accepts accessories with a matching hexagonal shank. Round shanks, even if they’re the right diameter, will spin freely or not seat at all. This is the first and most absolute barrier.
This mismatch explains why a standard twist drill bit is a non-starter. Some DIYers think they can force it, maybe using a worn chuck. Don’t. The bit will slip, the workpiece will mar, and your knuckles will find the nearest sharp corner. The fix is either a bit with a 1/4″ hex shank or an adapter.
Adapters come in two main types. A simple hex bit adapter is a short, hexagonal bar with a three-jaw chuck on the end. You lock your round-shank bit into the chuck, then lock the adapter’s hex end into the impact driver. The other type is a 1/4″ hex to round shank sleeve, which is less common. Both introduce a weak point, the adapter’s jaws or the sleeve’s grip, which becomes the failure point under the impact driver’s hammering action.
The part nobody mentions: Every adapter adds length and runout (wobble). For drilling, that means a less precise hole and more stress on the bit where it meets the adapter. It’s the mechanical version of a bad telephone connection.
The Manufacturer Stance Split
Here’s where it gets messy. Open the manual for your specific impact driver. The instructions on drilling might surprise you. Manufacturers are not united on this.
The Milwaukee M18BLID manual states, “This impact driver is intended for use with drill and driver bits,” representing a permissive stance in the manufacturer disagreement. Conversely, a Home Depot impact driver manual commands, “Do not use the impact driver as a drill,” representing a prohibitive stance in the manufacturer disagreement.
Harbor Freight manuals, like those for the 73238 and 70933 models, sit in the middle. They caution to “Only use 1/4″ hex shank bits designed for impact use,” but then provide detailed instructions for drilling in metal and wood, including tips like applying light oil to the bit. They’re saying, “You can, but you must use 1/4″ hex shank bits designed for impact use.”
| Manufacturer / Model | Stance on Drilling | Key Manual Instruction |
|---|---|---|
| Milwaukee M18BLID | Permissive | “Intended for use with drill and driver bits.” |
| Home Depot (Generic) | Prohibitive | “Do not use the impact driver as a drill.” |
| Harbor Freight 73238/70933 | Conditional | “Only use 1/4″ hex shank bits designed for impact use.” + Provides drilling instructions. |
| JCB 21-18ID | Conditional with Specifics | “Do not insert standard 25mm long hex bits directly into the chuck… Use a hex bit tool holder.” |
Why the disagreement? It often boils down to liability and tool design. An impact driver’s primary function is driving fasteners with high torque. Its rotational hammering action, delivering pulses of force, is brutal on rigid materials. A manufacturer prohibiting drilling is protecting itself from warranty claims when users break bits or burn out motors. One allowing it is trusting the user to follow the safety fine print to the letter.
Your first step is to find your manual to answer can you use regular drill bits in an impact driver. Your tool’s warranty and your safety depend on it. If the manual says “do not drill,” that’s not a suggestion, it’s a boundary.
When It’s Okay to Drill (And How to Do It Safely)
To be honest. Sometimes you’re up on a ladder with just your impact driver, and you need one more pilot hole. If your manual doesn’t explicitly forbid it, and you’re willing to accept the risk, you can proceed. But you need a plan.
Before you start: Wear ANSI-approved safety goggles. The chance of a bit shattering is real. Ensure your workpiece is secured. And only attempt this for soft materials like wood or thin, ductile metals. Drilling hardened steel or masonry is a firm no.
Here is the step-by-step sequence for safe, occasional drilling with an impact driver. Missing a step increases the risk of breakage exponentially.
- Select the correct bit. This is essential. You must use a drill bit with a 1/4″ hex shank that is impact-rated. These are often labeled as such. Many major tool brands sell impact-rated hex-shank drill bits. Using a standard round-shank bit in an adapter is your last, worst option.
- Verify the fit. Before you power up, insert the bit fully into the chuck. Pull the collar back, seat the bit, and release. Give it a gentle tug. It should not come out. A loose bit is a spinning hazard.
- Set the tool to forward (clockwise) rotation and the lowest speed setting. The Kobalt impact driver offers variable speed control; start at the lowest possible speed.
- Start with the bit tip in contact with the workpiece. The Harbor Freight manual is adamant: “Always start drilling at low speed and with the bit tip in contact with the workpiece.” This prevents the bit from bending or skidding.
- Apply steady, straight-line pressure. Do not lean on the tool. The manual instruction is “apply pressure only in direct line with the bit and do not apply excessive pressure.” Let the impact mechanism do the work.
- Listen and feel. A healthy drilling sound is a consistent grind. A high-pitched whine or a chattering vibration means the bit is binding, overheating, or the material is too hard. Stop immediately.
- Withdraw the bit frequently to clear chips. This keeps the bit cooler and prevents clogging, which leads to jamming.
- If the bit jams, release the trigger immediately. This is a direct quote from the safety warnings. The stored torque can snap the bit or wrench the tool from your hands.
Where this goes sideways: Using excessive pressure. The impulse is to push harder when progress slows. This overheats the bit, blunts the cutting edges, and dramatically increases the chance of a catastrophic shear at the shank. The hole gets more ragged, not faster.
When you’re done, remember the Harbor Freight warning: “Let bit cool before touching, changing or adjusting it. Bits heat up dramatically while in use, and can burn you.” That heat is a direct result of the impact action, which is far less efficient for drilling than a drill’s smooth rotation.
When NOT to Drill with an Impact Driver
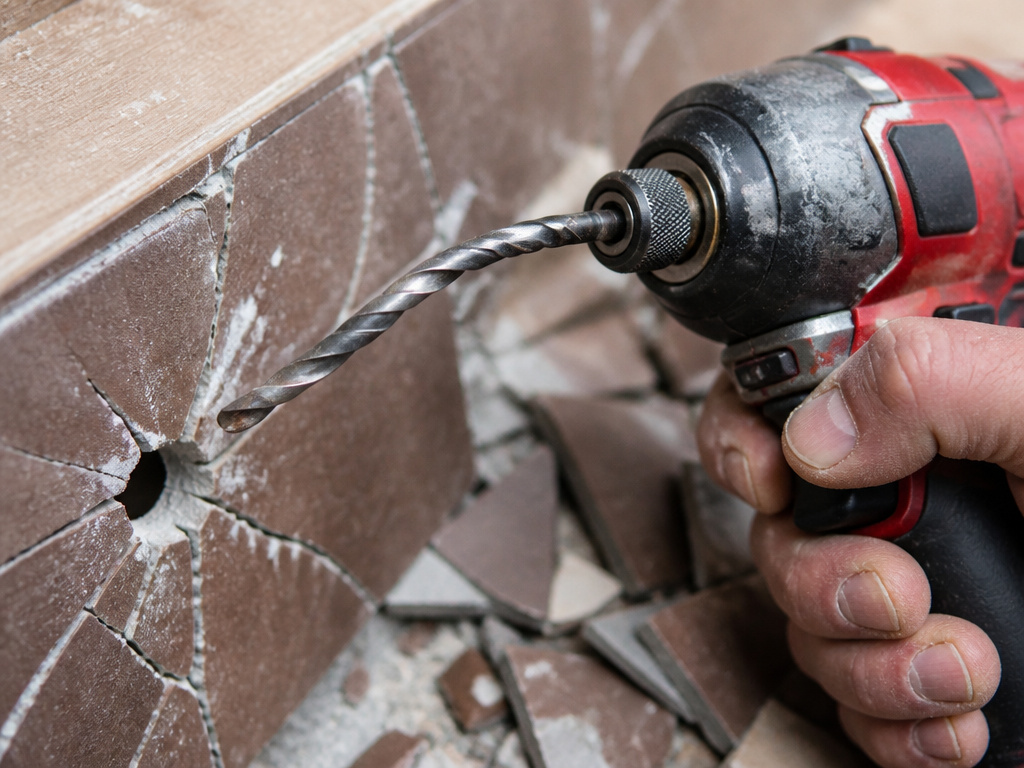
Some jobs are wrong for an impact driver from the first touch. Drilling is one of them if any of these conditions are true.
- You need precision. The hammering action of an impact driver mechanism makes it terrible for accurate hole placement or clean edges. Even with a guide, the pulses can walk the bit. For cabinet hardware or dowel holes, use a standard drill.
- The material is hard or brittle. Concrete, tile, glass, or hardened steel will laugh at your impact driver. The bits aren’t designed for it, and the tool’s action will likely crack the material or destroy the bit. This is where you need a hammer drill or a slow-speed, high-torque drill press.
- You’re using a specialty bit. Spade bits, Forstner bits, hole saws, and step bits have complex cutting profiles and large surface areas. The impact driver’s action will tear the material, produce a ragged hole, and often over-stress the bit’s connection point, leading to failure.
- The bit is long or thin. The manuals specifically warn about long drill bits. “At higher speeds, the bit is likely to bend if allowed to rotate freely,” states the Harbor Freight guide. A bent bit is a broken bit waiting to happen, and it’s a safety hazard.
My developed rule is to store drill bits in order of size. When you need a precise 3/8″ hole, you grab the 3/8″ bit for your drill. You don’t fumble through an adapter and an impact driver. The two minutes you save finding the right tool adds up over hundreds of holes, and you never have to explain a botched job.
The Bits That Work (And the Adapter Trade-Off)
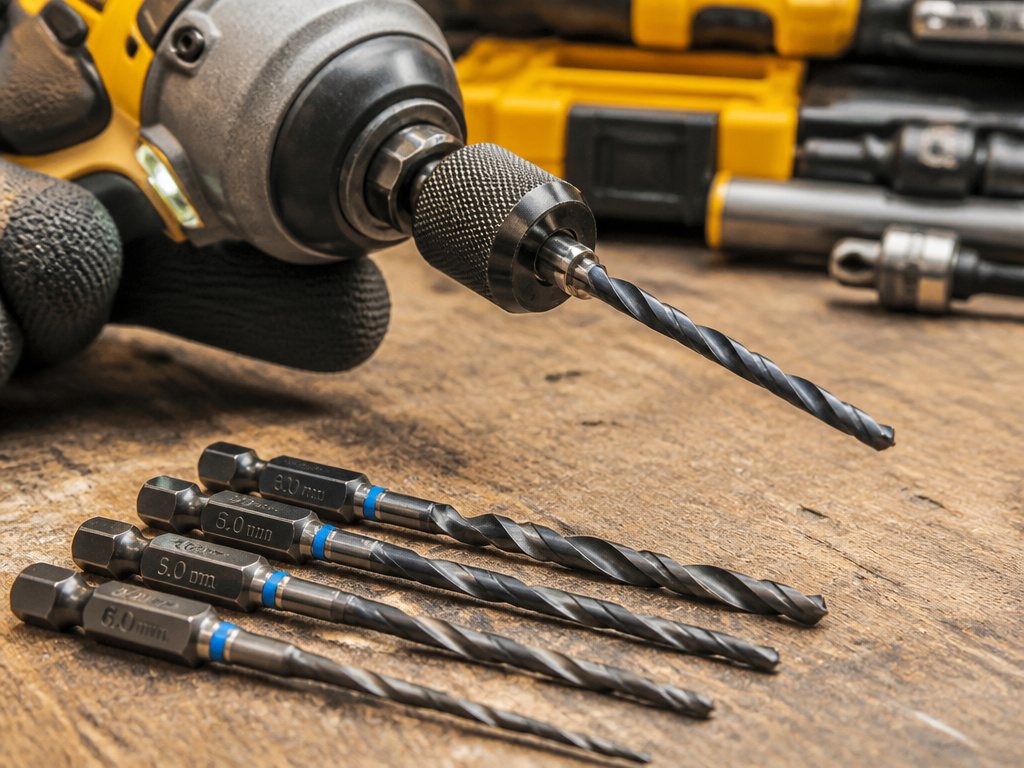
If you’re committed to drilling with your impact driver, you need the right ammunition. Here are your options, ranked from best to worst.
Impact-Rated Hex-Shank Drill Bits: These are the gold standard. They are engineered for the job. The shank is a robust 1/4″ hex that locks securely into the chuck. The steel is a tougher, often cobalt-enhanced grade, and the flute design is optimized to clear chips under vibration. A set of impact-rated hex-shank drill bits is a smart investment if you drill with your driver regularly. They last longer and are safer.
Hex Bit Adapter with Three-Jaw Chuck: This is the common fallback. You insert your regular bits into the chuck and tighten it. The trade-off is critical: you introduce two additional points of failure (the adapter’s jaws and its hex shank) and increase runout. Use this only for very short, low-torque tasks.
1/4″ Hex to Round Shank Sleeve: A simple metal sleeve that slides over a round shank. It’s cheap and compact, but offers the weakest grip. The set screw is the primary retention method in such a sleeve, which may be insufficient against the high torque of an impact driver.
Common mistake: Assuming any adapter makes drilling safe. The adapter becomes the weakest link. It’s not just about the bit breaking; the adapter itself can fail, sending metal parts flying.
The bit set usually wins.
The Internal Mechanism: Why Bits Break
To understand why this is risky, you need to know what an impact driver does differently. A standard drill provides continuous rotational force. An impact driver adds a brutal, secondary action.
This happens thousands of times per minute, the JCB 21-18ID has an impact rate of 0-3000 bpm. However, for drilling, it’s a problem.
When subjected to impacts, stress concentrates at any flaw, groove, or change in diameter, like where the shank meets the adapter, or at the stress point inside a three-jaw chuck.
Frequently Asked Questions
Can I use regular drill bits in an impact driver?
Only if they have a 1/4″ hex shank. Standard round-shank drill bits will not fit the impact driver’s chuck. To use them, you must employ a hex bit adapter, which introduces significant risk of bit breakage and poor performance. It is not recommended.
Do I need special drill bits for an impact driver?
Yes, for safe and effective drilling, you need impact-rated drill bits with a 1/4″ hex shank. These are made from tougher steel and are designed to withstand the hammering action. Using bits not rated for impact use greatly increases the chance of them shattering.
Can I turn my impact driver into a drill?
Not really. While you can attach drill bits via an adapter, an impact driver lacks the constant, smooth rotation of a drill. It is a less precise, more aggressive tool ill-suited for clean drilling. For frequent drilling, a drill vs impact driver comparison will show you that a dedicated drill is the better tool.
What drill bits are compatible with impact drivers?
Bits compatible with impact drivers must have a 1/4″ hex shank. The best choices are those specifically labeled as “impact-rated” drill bits. Some driver bits (like Phillips or Torx) are also impact-rated and have hex shanks, but they are for driving screws, not drilling holes.
Before You Go
The shop-floor truth is, an impact driver is a phenomenal tool for its intended job: driving and removing fasteners. Asking it to drill is like asking a racehorse to pull a plow, it can maybe do it, but it’s not what it’s built for, and something will probably break.
Your takeaway should be clear. First, check your manual. If it says not to drill, the discussion is over. Second, if you proceed against or without that advice, your only safe path is with impact-rated hex-shank drill bits, using low speed, light pressure, and full safety gear. The adapter route is a gamble where the stakes are a face full of metal shards.
For the vast majority of drilling tasks, from pilot holes to counterbores, a standard drill is the right tool. It’s slower, smoother, and far kinder to your bits and your workpiece. Sometimes, the right tool for the job is the one you have to walk back to the bench to get.
