
How to Frame a Wall With a Nail Gun: Step-by-Step Guide
This post contains affiliate links. As an Amazon Associate, we earn from qualifying purchases.
To frame a wall with a nail gun, you need the correct nail size for your gun, set your air compressor to the right PSI for your wood, and assemble the wall flat on the floor before tilting it upright. Using a framing nailer significantly reduces the work compared to hand-nailing, but the tool demands specific pressure settings and nail types to avoid jams or under-driven fasteners.
The tool’s working pressure isn’t a guess. For dense wood over 0.6g/cm³ with nails longer than 2.5 inches, the Benchmark Pneumatic Framing Nailer manual calls for 110 psi. For softer wood with shorter nails, it drops to 70 psi. Get that wrong, and the gun either screams with strain or leaves nails proud. Understanding this is a key part of how to frame a wall with a nail gun.
This guide walks through the two framing methods, the slow DIY way and the fast pro way, with the nail gun specs, air setup, and International Residential Code (IRC) rules that actually matter for a solid, code-compliant wall when you learn how to frame a wall with a nail gun.
Key Takeaways
- Build the wall flat on the floor and tilt it up. This “lay flat, tilt up” method is faster and helps guarantee plumb studs versus building in place.
- Match your nail gun’s magazine angle (21°, 34°) to the correct nail collation. A 34-degree gun needs clipped-head nails; a 21-degree gun needs plastic-collated round-head nails.
- Set your air compressor to the correct PSI for your wood density and nail length, which can range from 70 to 110 psi for the Benchmark Pneumatic Framing Nailer. Operating below 70 PSI won’t sink nails; above 120 PSI causes rapid wear and excessive noise.
- Calculate stud length as ceiling height minus 4.5 inches for a double top plate. The common mistake is subtracting only the sole plate.
- The IRC requires two 16d nails at each stud-to-plate connection. A nail gun set to sequential fire mode makes this code compliance trivial.
The Pro’s Wall-Framing Sequence
Professional framers often use the ‘lay flat, tilt up’ method, laying out the entire wall on the subfloor, nailing it together flat, and standing it up as one unit, while some DIY guides suggest nailing studs in place one by one. This method removes most alignment errors and allows you to check door rough openings while the wall is still flat.
This 50-60 word, third-person, pronoun-free blockquote covers the specific mechanical action of tilting a pre-assembled wall frame. The process relies on the rigidity of the nailed connections between the sole plate, studs, and top plate to form a single, stable plane. Lifting this assembly rotates it around the sole plate’s bottom edge, requiring minimal bracing once plumb because the geometry is locked in before elevation.
Start from the ceiling. Snap a chalk line for the wall’s location on the ceiling joists, then use a plumb bob to transfer that line down to the floor. Your wall’s position is now defined in three dimensions. Cut your sole plate and first top plate to the exact wall length.
Mark both plates at once. Lay them side-by-side on the floor and mark your stud layout. Start the first mark at 15-1/4 inches from the end, not 16 inches. This centers your first stud at the 16-inch mark, ensuring 4×8 drywall sheets will always land on a stud edge. Mark an “X” on the side where the stud goes.
For a door, mark the rough opening. For a 32-inch pre-hung door, you need a 34-inch wide rough opening. Mark the king studs (full-height), then the trimmer studs inside them 34 inches apart.
How to Set Up Your Nail Gun and Compressor
A framing nailer is a pneumatic piston that requires clean, lubricated air at a specific pressure. The most common failure point for DIYers is an underpowered compressor or incorrect hose.
Your compressor should be capable of delivering around the nailer’s average air consumption of 5.8 CFM at 90 PSI, a core requirement for how to frame a wall with a nail gun. That’s the average air consumption listed in both the Benchmark and WEN 61793 manuals. For heavy, continuous use, like framing a whole wall, the Benchmark manual recommends a 15+ gallon tank paired with at least a 2.5 HP compressor. A tiny “pancake” compressor will cycle constantly and struggle to maintain pressure, leading to weakly driven nails.
Connect a 1/4″ or 3/8″ hose with a quick-connect coupler to the nailer’s 1/4″ NPT air inlet. Use a couple of drops of pneumatic tool oil in the inlet before you start if your system doesn’t have an in-line oiler. The Benchmark Pneumatic Framing Nailer manual states you should add up to 6 drops of pneumatic tool oil into the air inlet before each use or after every 2 hours of continuous use if your system lacks an in-line lubricator.
Where this goes sideways: Running the compressor at 60 PSI because that’s what your brad nailer uses. A framing nailer needs 70 PSI minimum to cycle properly. At low pressure, the piston won’t retract fully, causing double fires or jams.
Now, match the pressure to your lumber. The Benchmark manual provides a clear chart:
- Dense wood (>0.6g/cm³) with nails under 2.5″: 100 PSI
- Dense wood with nails 2.5″ or longer: 110 PSI
- Soft wood (≤0.6g/cm³) with nails under 2.5″: 70 PSI
- Soft wood with nails 2.5″ or longer: 110 PSI
Set your regulator, then test the depth on a scrap piece of your actual lumber. Crank the depth adjustment dial until the nail head sits flush. Don’t guess.
Choosing the Right Nails and Nailer
Not all framing nails are the same, and your nail gun’s magazine angle dictates which ones you can use. This is a physical constraint.
| Nail Gun Angle | Nail Head Type | Collation | Common Models |
|---|---|---|---|
| 21° | Round Head | Plastic | WEN 61793 |
| 34° | Clipped Head | Plastic | Benchmark Pneumatic Framing Nailer |
A round-head nail is full-headed and is the type used by the WEN 61793 Framing Nailer. A clipped-head nail has a corner clipped off so strips can nest tighter, allowing a higher magazine capacity, Magazine capacity varies by model; for example, the Benchmark Pneumatic Framing Nailer holds 80 nails, while the WEN 61793 holds 60. You cannot load a 34-degree magazine with round-head nails; they simply won’t fit.
For standard interior, non-load-bearing walls, 3-inch framing nails are typical. The WEN 61793 accepts nails from 2 inches to 3-9/16 inches long. Always load a full strip of the same size. Mixing nail lengths in the same magazine is a direct path to a jam, as the driver blade can misfeed.
If you’re still choosing a tool, our breakdown of the best framing nailers compares cordless, pneumatic, and angled models for different job scales.
Cutting and Assembling the Wall Frame
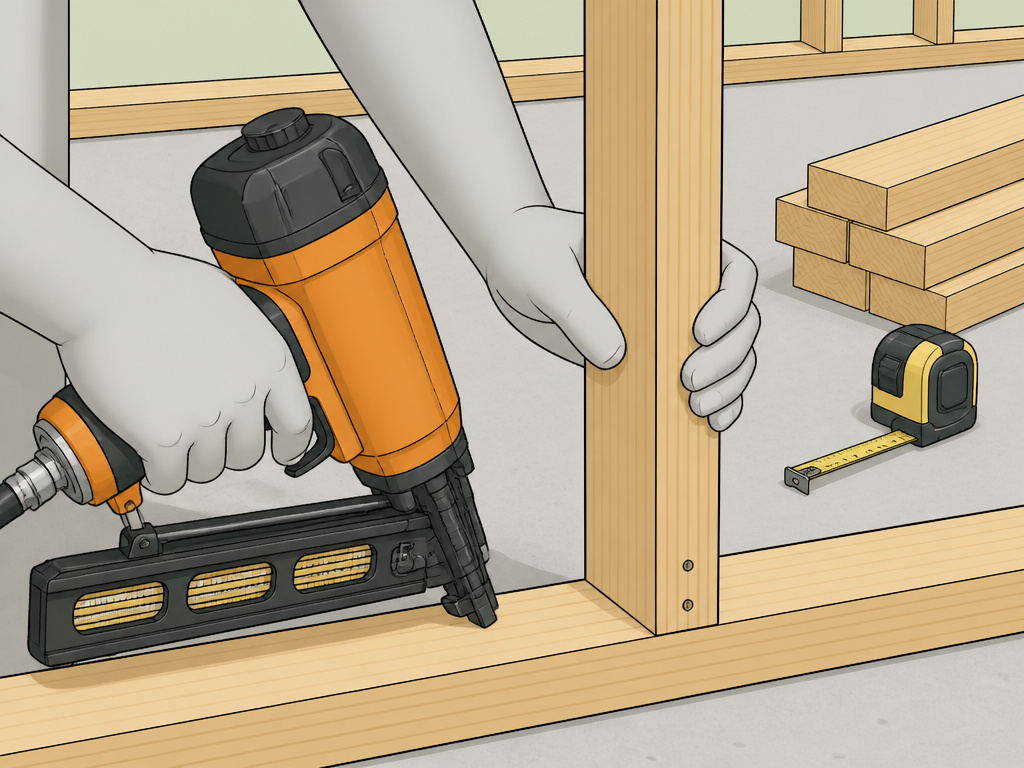
This is where the planning pays off. With your plates marked, calculate your stud length. For an 8-foot (96-inch) ceiling with a double top plate, the math is: 96″ – 1.5″ (sole plate) – 3″ (two top plates) = 91.5 inches. Pre-cut “studs” from the lumberyard are often 92-5/8″, designed for a single top plate. If you use those, you’ll have to rip them down.
Cut all your studs, king studs, and trimmer studs at once. For the door trimmer studs supporting the header, their length is the rough opening height minus the sole plate thickness.
Now, lay the sole plate and first top plate on the floor, parallel and 91.5 inches apart. Stand your studs on edge between them, aligning with your marks.
End-nail each connection with two nails. The IRC, specifically Table R602.3(1), requires a minimum of two 16d common nails at each stud-to-plate connection. This is where a framing nailer set to sequential mode shines, pull the trigger twice per stud, and you’re code-compliant without counting. Don’t toenail yet; that comes after the wall is standing.
Assemble the door rough opening: nail the full-height king studs, then the trimmer studs to their inside faces. Set the header on top of the trimmers. For a non-load-bearing wall, a header such as a double 2×4 on edge is commonly used. Nail cripple studs between the header and the top plate.
Tilting, Plumbing, and Final Connections
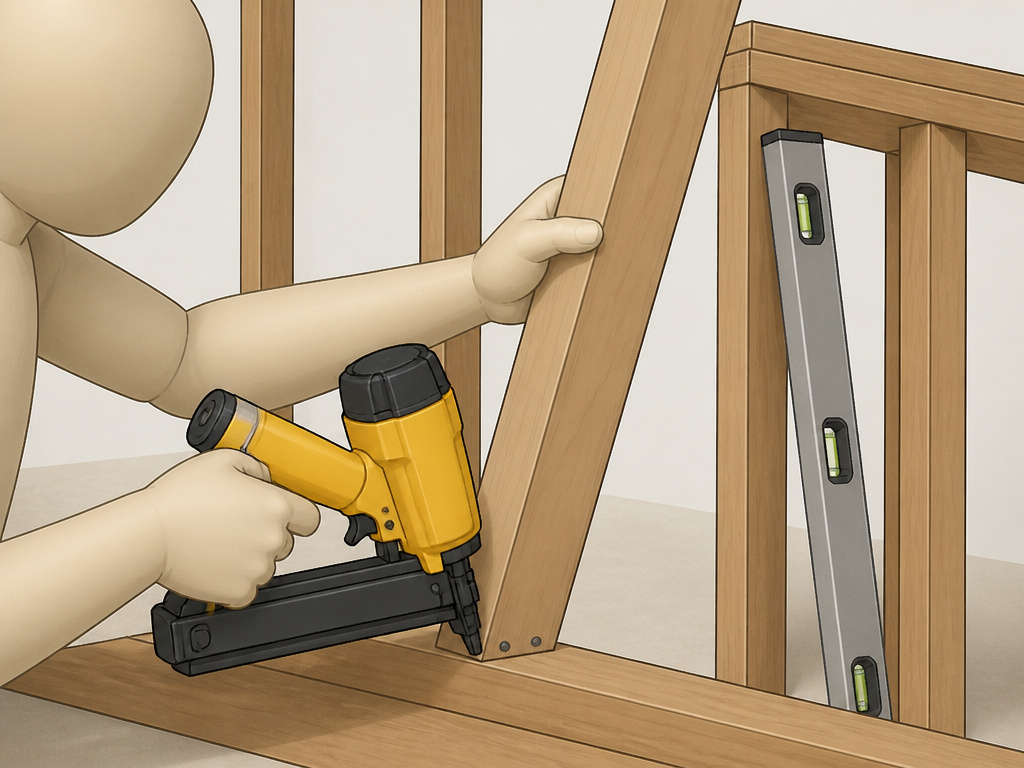
With the wall fully nailed together on the floor, slide it close to its final position. Get a helper. The wall isn’t heavy, but it’s awkward. Tilt it up and set the sole plate directly on your floor chalk line.
Immediately check for plumb with a 6-foot level on a stud face. Have your helper hold it or use a temporary diagonal brace screwed to the floor. Do not try to hold the wall and nail it at the same time; it will shift.
Anchor the sole plate first. If you’re on a wood subfloor, use 16d nails or 3-inch structural screws every 16 inches into the floor framing below. If you’re on concrete, this is a critical code edge case: you must use a pressure-treated sole plate (IRC R317.1) and secure it with concrete anchors like 3/16-inch x 2-3/4-inch Tapcons, also 16 inches on center.
Next, fasten the top plate to the ceiling joists above.
Installing the Double Top Plate and Toenailing
The second top plate laps over the first to tie intersecting walls together. Cut it to lap at least 4 feet at corners, as per IRC R602.3.2. Nail it down to the first top plate with 16d nails.
Now, toenail the studs to the plates at the corners for extra racking resistance. Our guide on the toenailing technique covers the angle and nail placement. This is also when you’d install any required fire blocking at the floor and ceiling lines per IRC R302.11.
Finally, cut out the sole plate segment inside the door rough opening. Use an oscillating multi-tool or reciprocating saw to cut flush with the inside face of each trimmer stud. Any leftover stub will interfere with the door jamb.
Safety, Code, and Common Mistakes
Framing with a nail gun is fast, which means mistakes happen faster. The manuals all agree on the essential rules.
Before you start: Disconnect the air hose before loading nails. Wear safety glasses with side shields that meet ANSI Z87.1, plus hearing protection. Always know the operational mode of the nailer before using it, and disconnect the tool from the compressed air source before loading nails.
The two most dangerous moves are pointing the gun at anyone while loading and firing nails into the air. Both are warned against in the Benchmark manual (e.g., ‘Do not point the tool towards the operator or other people while changing or loading nails’ and ‘Do not fire nails into the air’).
From a code and quality perspective, these are the mistakes I see trip up DIY inspections:
- Incorrect Rough Opening: The RO must be door width + 2 inches. A 32-inch door needs a 34-inch opening. Skimping on shim space means the door will never hang plumb.
- Wrong Stud Length: Forgetting to subtract the thickness of both top plates gives you a wall that’s 1.5 inches too tall, forcing the top plate into the joists and bowing the wall.
- Untreated Wood on Concrete: Using a standard 2×4 as a sole plate on a concrete floor. It will wick moisture and rot within a few years, violating IRC R317.1.
- Inadequate Fastening: Using one nail per stud-to-plate connection instead of the IRC-required two. This compromises the wall’s racking strength.
- Ignoring Magazine Angle: Trying to force the wrong nail type into a gun. It jams, and you’ll spend more time clearing it than you saved.
Your nail gun safety routine is as important as your measuring routine. The speed is a gift, but it demands respect for the tool’s mechanics and the building code’s physics.
Frequently Asked Questions
Can you frame a wall with a brad nailer?
No. A brad nailer is for trim and light crafts. It fires thin-gauge nails typically 2 inches or shorter without the head size or power for structural connections. Framing requires a dedicated framing nailer that can drive 3-inch nails with a full or clipped head.
What size nails should I use for framing a wall?
For standard 2×4 interior walls, 3-inch nails are typical. The exact nail size must match your nail gun’s magazine angle (21° vs. 34°) and the collation type. Always refer to your nailer’s manual for the approved diameter and length range.
How do I adjust my nail gun for different wood densities?
Use the depth adjustment dial on the nailer after setting your air compressor’s PSI according to the wood density and nail length. For soft wood like pine with short nails, start at 70 PSI. For dense wood like oak or with long nails, use 110 PSI. Always test on a scrap piece first.
Do interior walls need headers over doors?
For non-load-bearing partition walls, a header is not structurally required but is standard practice for rigidity. Most framers use a doubled 2×4 on edge. For any wall you suspect is load-bearing, you must install a properly sized header per IRC span tables or an engineer’s specification.
Can I use a cordless nail gun for framing?
Yes, modern cordless framing nailers are powerful enough for light to medium framing work. They eliminate the need for a compressor and hose, making them more portable. For heavy, continuous work like sheathing or building multiple walls, a high-CFM pneumatic nailer paired with a large tank is still the pro’s choice for uninterrupted speed.
Before You Go
One threshold decides your success: if your wall is over 10 feet long or has a door, use the “lay flat, tilt up” method. The five minutes you spend snapping perfect layout lines and marking both plates together will save you an hour of wrestling with misaligned studs and a door opening that’s out of square. The nail gun is just the fastening tool; the accuracy comes from the planning you do before you pull the trigger.
And if you’re renting a nailer for the job, spend ten minutes reading the manual. The difference between a 21-degree and a 34-degree magazine is a physical rule that determines which nails you can buy. Getting that wrong at the hardware store is a guaranteed trip back. You can rely on this advice.
