
How to Use a Hammer Drill: Step-by-Step
This post contains affiliate links. As an Amazon Associate, we earn from qualifying purchases.
To use a hammer drill, you match three things: the correct operating mode, a carbide-tipped masonry bit, and firm, controlled pressure. Rotate the tool’s selector collar until the hammer symbol lines up with the arrow. Insert the bit, secure your workpiece, and start drilling at a low speed, letting the tool’s hammering action do the work without forcing it.
That hammer symbol is the whole game. It’s what separates this from a standard drill and turns a spinning bit into a miniature jackhammer. Get that wrong, and you’re just burning out a motor. Understanding how to use a hammer drill begins with this symbol.
What follows is the complete walkthrough on how to use a hammer drill, from picking the right bit and gearing up safely to the specific hand pressure that doesn’t trash your tool. We’ll also clear up the manufacturer warnings most guides gloss over, like why you never use water and what to do when you hit metal in the concrete.
Key Takeaways
- Set the mode selector to the hammer symbol before you pull the trigger; this engages the hammering mechanism needed for masonry.
- Use only carbide-tipped masonry bits rated for percussion; standard twist bits will dull in seconds and can shatter.
- Let the tool’s weight and hammer action do the cutting; excessive pressure can overheat the bit and motor. However, Milwaukee Tool notes that while soft masonry requires little pressure, hard materials like concrete require more pressure.
- Never use water to cool a carbide bit or settle dust; it causes thermal shock and ruins the bit’s cutting edge.
- If the bit stops spinning or you hit steel rebar, stop immediately, reverse the drill, and find a new spot.
The Gear You Actually Need
You can’t hammer drill with a standard wood bit. The materials and forces involved demand specific tools, and the manuals are unanimous on this point.
First, the bit. Every manufacturer source. Milwaukee, Kreg, Makita, specifies carbide-tipped masonry bits. The carbide tip is harder than the sand and aggregate in concrete. A standard high-speed steel bit will go dull very quickly in masonry. Kreg’s manual for the KPTCHD050B states it plainly: “Use carbide-tipped or masonry bits rated for percussion drilling only.”
Second, your eyes and lungs. Concrete dust contains silica, a known health hazard. The Milwaukee 2804-20 manual mandates ANSI Z87.1-rated eye protection and recommends “appropriate respiratory protection or use an OSHA compliant dust extraction solution.” A basic disposable dust mask is better than nothing, but a proper respirator is the right move for more than a couple of holes.
Finally, get a grip. Many hammer drills include a side handle. Use it. The Milwaukee 2706-20 manual is explicit: “To reduce the risk of injury, always use a side handle when using this tool. Always brace or hold securely.” That side handle gives you the mechanical advantage to control the significant torque, especially when the bit suddenly breaks through the other side of the wall.
Where this goes sideways: Using a standard twist-drill bit. It will overheat, lose its edge, and likely snap under the hammering force, sending metal fragments flying.
Decoding the Dial: Drill, Drive, or Hammer?
The collar near the chuck of your hammer drill isn’t for decoration. It’s the control center. Misunderstanding it is the most common beginner mistake, and it usually sounds like a grinding, unhappy motor.
On many combo hammer drills, the selector has multiple zones including a hammer symbol, a drill symbol, and a clutch range. For the Milwaukee M18 FUEL 2804-20, the manual instructs: “Rotate the torque selector collar until the hammer symbol appears in line with the arrow. Apply pressure to the bit to engage the hammering mechanism.”
- Drill Symbol (⌀): This is for standard rotary drilling into wood, metal, or plastic. No hammering action.
- Clutch Numbers (1-whatever): This is for driving screws. The clutch disengages the motor at a set torque to avoid stripping screw heads or driving them too deep.
If you’re trying to drill into a concrete wall and the tool is just spinning loudly without making progress, check this dial. You’re probably in “Drill” mode. The hammer mechanism is physically disengaged. Switch to the hammer symbol, and you’ll feel and hear the difference immediately, a rapid, rhythmic thud-thud-thud behind the spin.
| Selector Symbol | Tool Action | Use For | If You Use It Wrong |
|---|---|---|---|
| ☸ (Hammer) | Rotation + Percussion | Concrete, Brick, Masonry | In wood/metal: Damages workpiece, ruins bit. |
| ⌀ (Drill) | Rotation Only | Wood, Metal, Plastic | In concrete: Bit won’t penetrate; motor overheats. |
| 1-22 (Clutch) | Rotation w/ Torque Limit | Driving Screws | In any drilling: Motor stalls prematurely; no power. |
For a deeper dive on when to reach for this tool versus a standard one, our comparison of hammer drill vs regular drill breaks it down.
The 6-Step Process for Drilling a Hole
This is the core sequence for how to use a hammer drill. Skip a step, and you’ll know, usually by the sound of a straining motor or the sight of a stuck bit.
1. Mark and Punch. Use a pencil or marker, then hit the spot with a center punch and hammer. This creates a small dent that keeps your masonry bit from “walking” across the surface when you start.
2. Insert and Secure the Bit. Open the chuck, push the bit all the way in until it hits the bottom, then pull it back out about 1/16 of an inch (as specified in the Milwaukee 2706-20 manual). Tighten the chuck firmly. That tiny gap allows the bit to move slightly with the hammer action.
3. Set the Depth. If your drill has a depth stop, set it. If not, wrap a piece of painter’s tape around the bit at your desired depth. It’s a simple visual cue that beats guessing.
4. Select Mode and Speed. Rotate the collar to the hammer symbol. Set the speed selector to low (usually “1”). You want control and torque, not high RPMs, for starting the hole.
5. Position and Start Drilling. Hold the tool firmly with both hands, square to the work surface. Start the drill at a low speed, applying steady, moderate pressure. Let the tool do the work. You should see a consistent stream of fine dust coming from the hole.
A smooth, even flow of dust indicates the proper drilling rate. If dust stops, you’re likely clogged or need to ease up.
6. Clear Debris and Finish. Periodically, pull the bit partially out of the hole while it’s still spinning to clear dust. As you near the end, reduce pressure. When breaking through, grip the side handle tightly, the Makita DHP490 manual warns of “a tremendous force exerted on the tool/drill bit at the time of hole break through.”
For the specifics of drilling into different masonry types, our guide on drilling into concrete has material-specific tips.
Pressure, Heat, and The Dangers of “Helping”
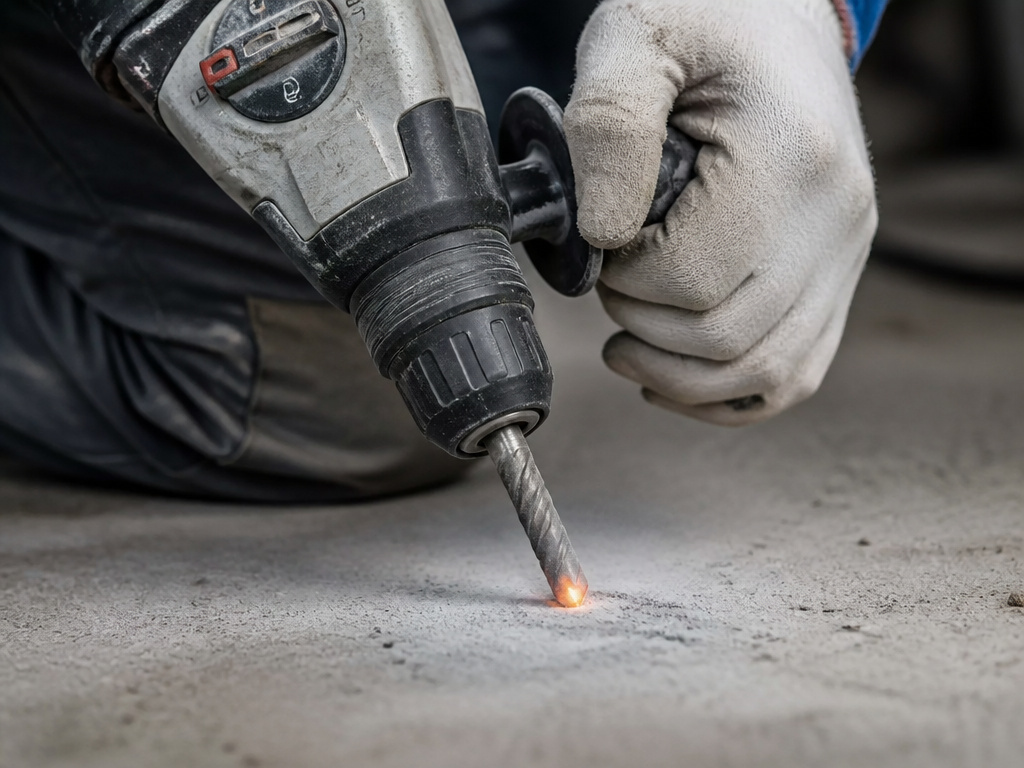
How hard should you push? This is where the manuals disagree on phrasing, but not on principle.
The Milwaukee 2706-20 manual states a nuanced rule: “Drilling soft masonry materials such as cinder block requires little pressure. Hard materials like concrete require more pressure.” It’s a gradient.
The Greenworks and Makita DHP490 manuals are more absolute: “When hammer drilling, do not apply too much pressure.” Makita elaborates: “Pressing excessively on the tool will not speed up the drilling. In fact, this excessive pressure will only serve to damage the tip of your drill bit, decrease the tool performance and shorten the service life of the tool.”
Here’s how to reconcile them. You need enough pressure to keep the bit’s carbide teeth engaged with the material so the hammer blows are effective. But once it’s cutting, the tool’s action is doing 90% of the work. If you’re leaning your body weight into it, you’re overheating the bit and stalling the motor. The tell? The drill sound changes from a rhythmic thud-whirr to a strained grrrrrind, and the dust stream turns hot and sparse.
Common mistake: Pushing harder when progress slows. This usually means the hole is clogged with dust. The fix is to reverse, clear the debris, and resume with steady, not increased, pressure.
What to Do When Things Go Wrong
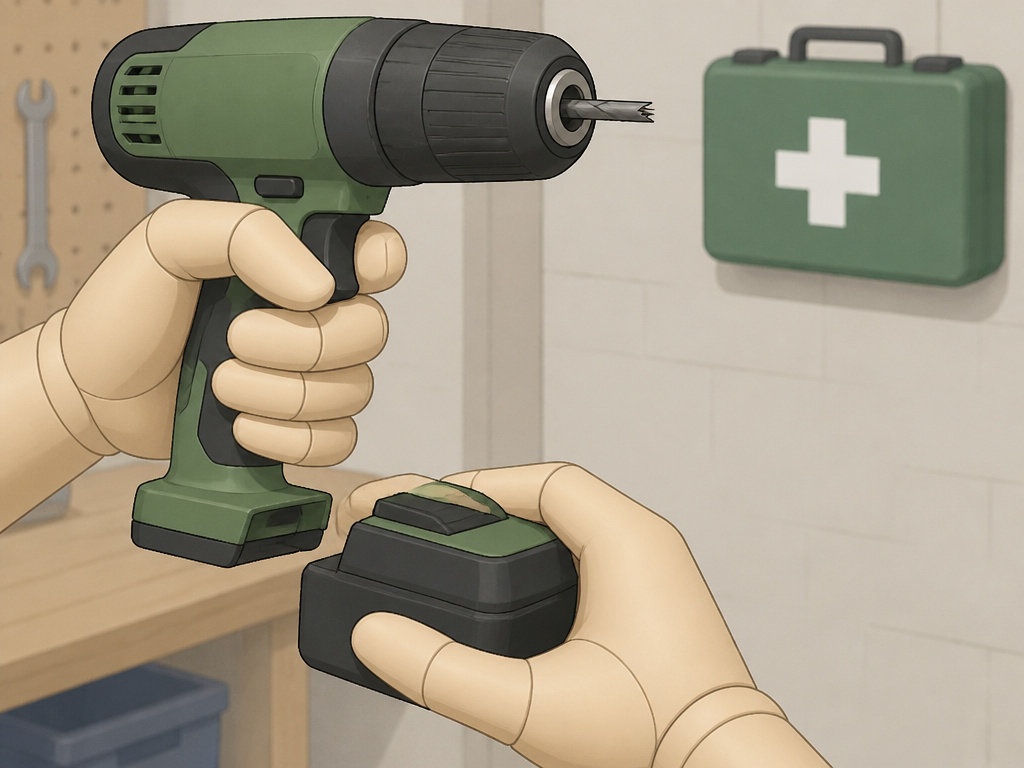
Hammer drills are tough, but concrete is tougher. Here’s the field repair for common hiccups.
The bit spins but doesn’t hammer.
- Cause: The selector is not on the hammer symbol. The mechanical hammer clutch isn’t engaged.
- Fix: Stop. Check the collar. Align the hammer symbol with the arrow. You should feel a distinct engagement.
The drill is hammering but not cutting.
- Cause: A dull bit, or you’ve hit steel rebar.
- Fix: For a dull bit, replace it. For rebar, stop immediately. The Milwaukee manuals (2607-20, 2706-20, 2804-20) all state: “Do not attempt to drill through steel reinforcing rods. This will damage the carbide bits.” Mark the spot, move over an inch or two, and start a new hole.
The hole is clogged, and the bit is stuck.
- Cause: Compacted dust has locked the bit in place.
- Fix: Don’t force it. Switch the direction selector to reverse while gently pulling on the tool. Often, backing it out will break the dust seal. Use a blow-out bulb or vacuum to clear the hole before continuing.
The tool or bit is extremely hot.
- Cause: Excessive pressure, high speed, or a clogged hole.
- Fix: Let everything cool down completely. Makita recommends a 15-minute rest if you’ve run the battery down continuously. Resume with less pressure, on low speed, and clear debris more often.
For jobs that are too much for a hammer drill, you’ll need to understand the step up to a rotary hammer tool, which uses a different, more powerful mechanism.
Safety Protocols You Can’t Ignore
This isn’t scare talk. It’s the mandatory fine print from the people who built your tool.
- Eye & Lung Protection: Silica dust is no joke. ANSI Z87.1 goggles and a respirator aren’t optional for more than a trivial hole.
- Secure the Workpiece: The Makita DHP490 manual is blunt: “Always secure workpieces in a vise or similar hold-down device.” A shifting cinder block can bind the bit and spin the whole thing into your shin.
- No Water, Ever: All cited Milwaukee manuals warn: “When using carbide bits, do not use water to settle dust.” Water causes rapid temperature change (thermal shock) that micro-fractures the carbide, destroying it. It’s also a major electrocution risk with corded tools.
- Battery & Trigger Discipline: “Always remove battery pack before changing or removing accessories.” And always lock the trigger or remove the battery when the tool is not in your hands.
These rules overlap with general cordless drill safety, which is the foundational knowledge for any power tool use.
How to Choose a Hammer Drill
When selecting a hammer drill, compare specifications like chuck size, torque, and weight to match your projects. Look for features such as multiple clutch settings and a dedicated hammer mode selector, which are common on many models. Consider the tool’s drilling capacity in materials like masonry, steel, and wood to ensure it can handle the holes you need to make. Your choice may also depend on whether you prefer a cordless tool for portability or a corded model for continuous power. Always check that the tool includes a side handle for better control and review the manufacturer’s safety warnings before use.
Frequently Asked Questions
How do you put a drill bit in a hammer drill?
Open the chuck by turning the sleeve counterclockwise. Insert the shank of the carbide-tipped masonry bit all the way until it hits the bottom, then pull it back out about 1/16 of an inch. Tighten the chuck clockwise by hand until it ratchets and won’t turn further. This slight pull-back allows for the hammering action.
Do I really need a hammer drill for concrete?
For more than one or two small holes, yes. A standard drill lacks the percussive force to fracture the aggregate in concrete. You’ll burn out the drill’s motor and destroy bits long before you finish. For a full comparison of tools suited for the job, see our rundown of the best drills for concrete work.
Can I use a hammer drill as a regular drill?
Yes. Simply rotate the mode selector away from the hammer symbol to the drill symbol. This disengages the hammer mechanism. It then functions as a heavy-duty rotary drill for wood, metal, or plastic. This versatility makes it a great primary drill for DIYers.
Why is my hammer drill not hammering?
The #1 reason is incorrect mode selection. Ensure the selector collar is turned so the hammer symbol is perfectly aligned with the arrow on the tool’s body. If it is and there’s still no hammering, the internal hammer mechanism may be worn or broken, requiring service.
What size hammer drill do I need for home use?
For most DIY tasks like hanging shelves, installing ledger boards, or setting anchors, a mid-torque cordless hammer drill like those in our hammer drills for DIY guide is perfect. They are far more manageable than professional-grade models.
Before You Go
The manual for your specific model is the final word. The steps here are universal, but the location of the mode selector or the feel of the clutch might differ between your Makita DHP490 and a Milwaukee M18 FUEL. Find that PDF online and skim it, it takes five minutes and will show you exactly where your hammer symbol is.
If you’re drilling more than a dozen holes or tackling reinforced concrete, the job has outgrown a standard hammer drill. That’s when you rent a rotary hammer for the day. The right tool doesn’t just make the job easier; it makes the result solid.
Finally, keep it simple. Hammer symbol, carbide bit, steady pressure. Listen to the tool. A happy hammer drill has a specific, businesslike sound. You’ll know it when you hear it.
